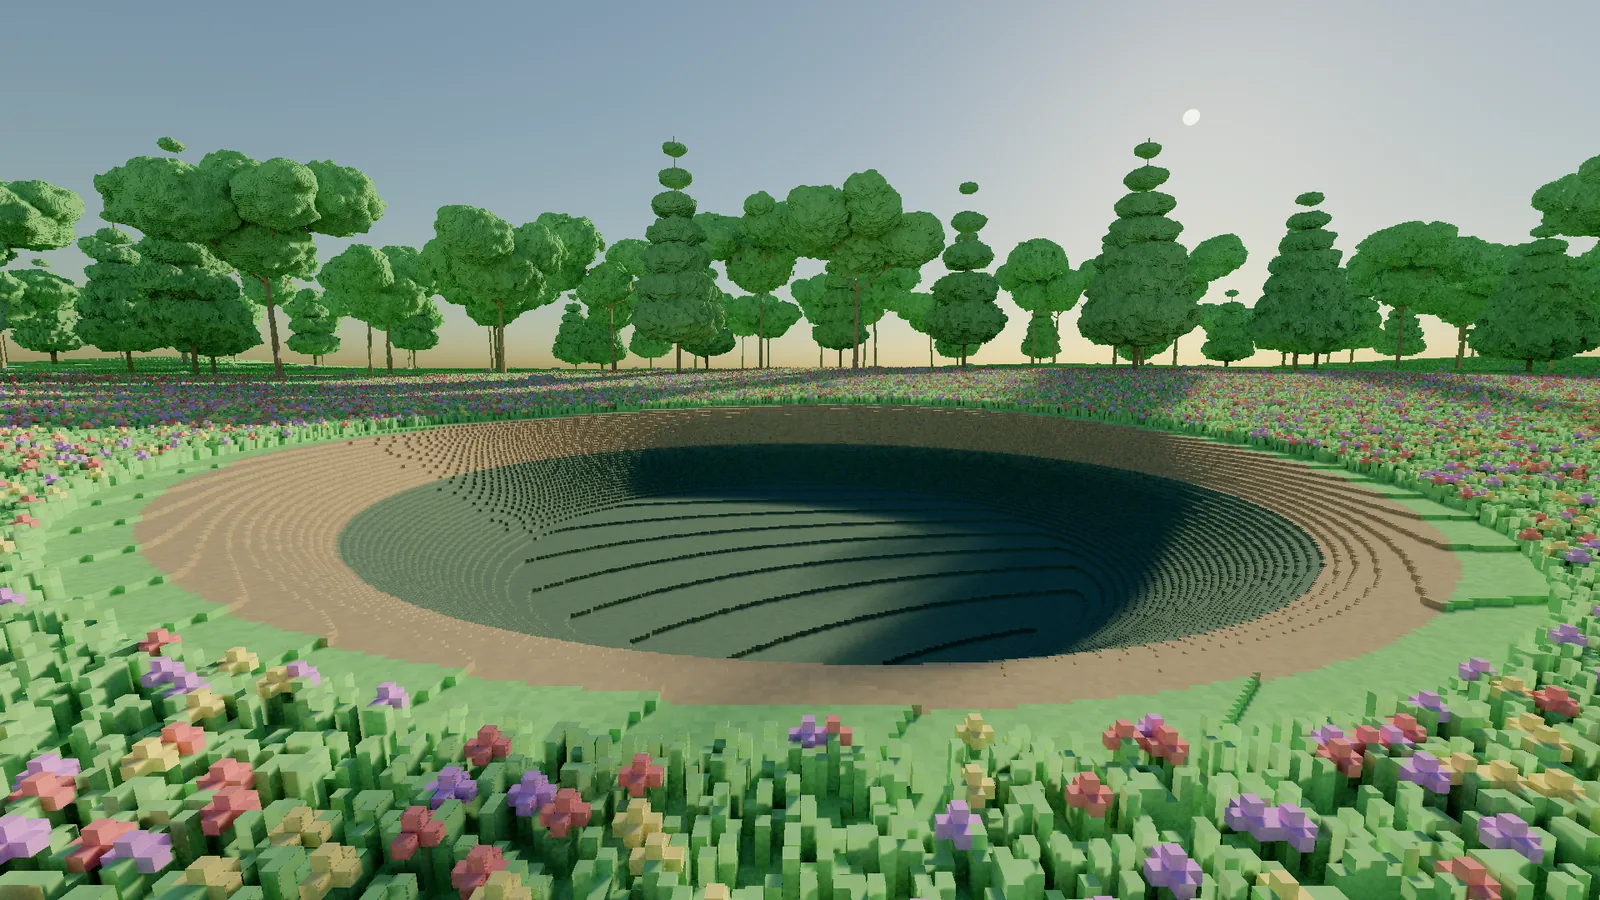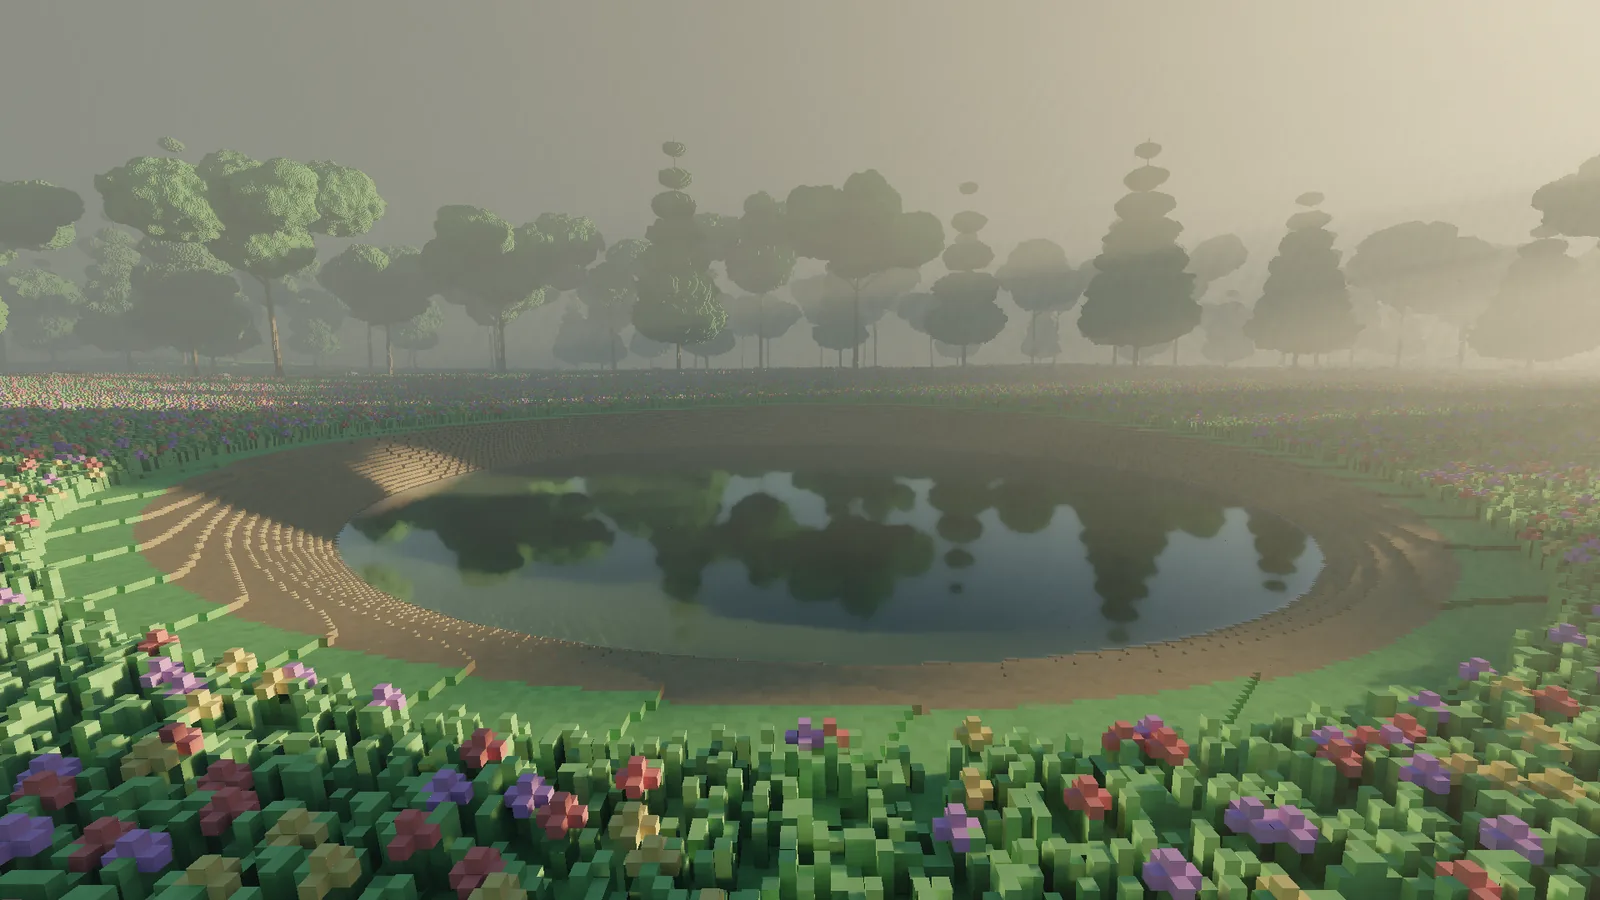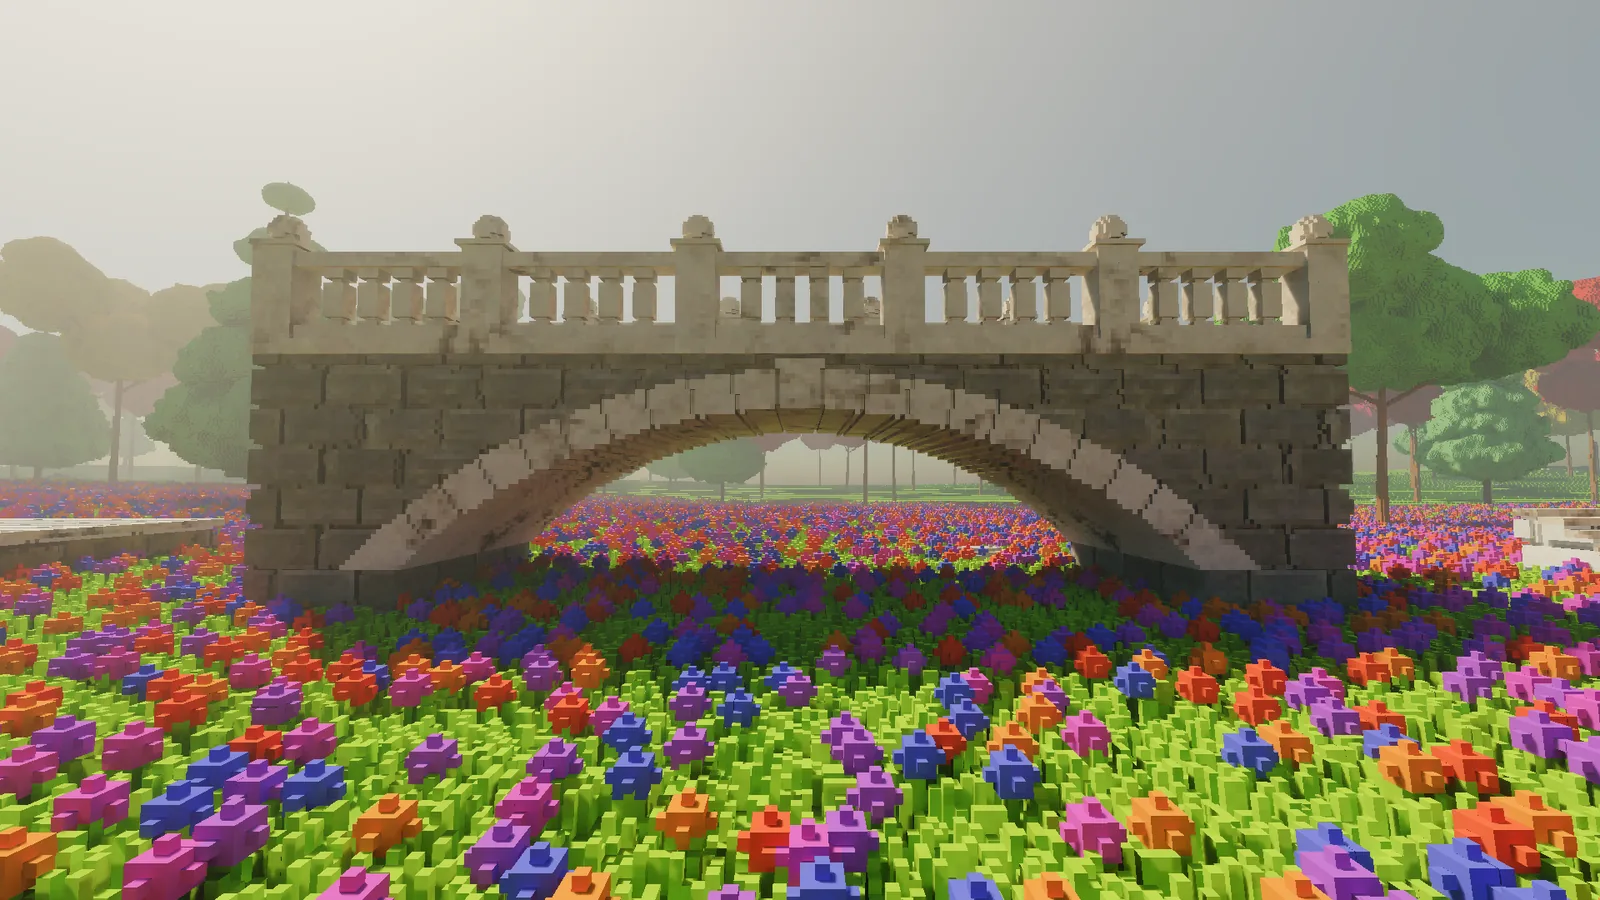
A couple of entries ago I explained that the hard part of a voxel engine is not how it looks but how much stuff it has to hold: millions of tiny voxels, all of them editable, all of them needing to reach the screen in a sixtieth of a second.
So naturally, the next thing I did was add a great deal more stuff.
This entry covers the work since then: textured building materials, distant views that finally agree with what you built, a warmer look, proper reflections, stone with real joints, a performance pass, real 3D models turned into voxels, and a small showcase courtyard with a bridge over the pond. Along the way there were fire bowls that looked like fluorescent tubes and a lion that turned into a paving slab. I'll get to those.
As before, every image is a real-time frame from the engine.
Building with real materials
Until now, building materials were plain colours. The first big addition was a palette of textured building materials: brick, stone blocks, cobblestone, marble and planks. Each one starts life as a public-domain photo texture, gets baked down to one colour per voxel, and is laid out by world position rather than per block. That last part matters: place two cubes of brick side by side and they join into one continuous wall, with no seam where they meet, and carving into a wall reveals the pattern carrying on inside.
Some took a few goes. My first cobblestone came out looking like pale paving slabs with patchy joints. A different texture fixed it.
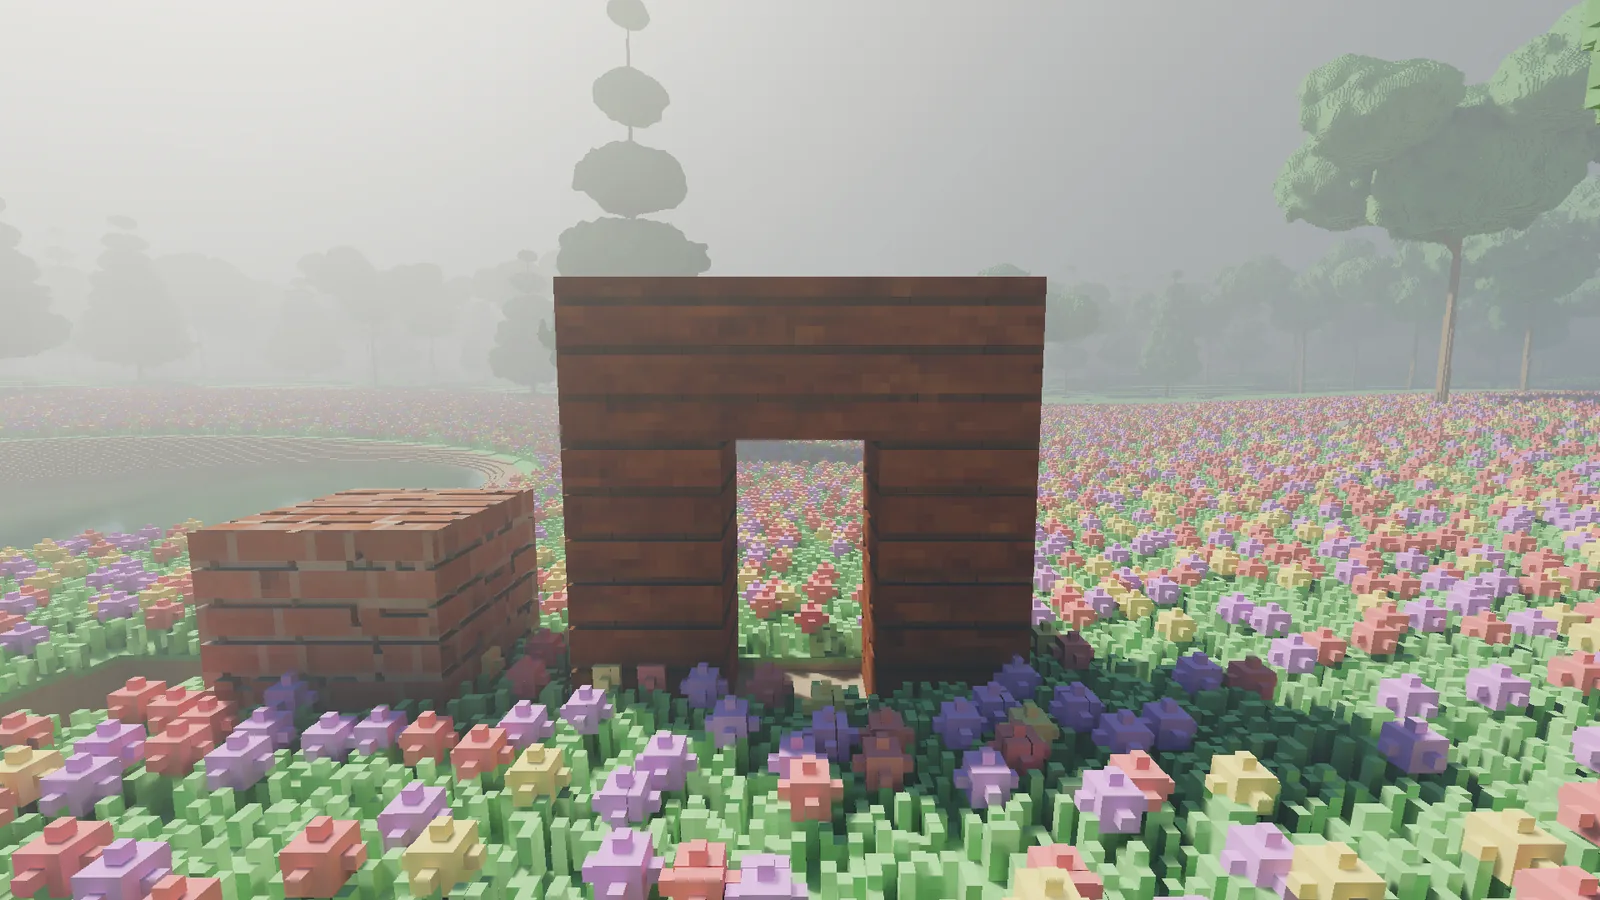
The view from eighty metres
Past fifty metres the world is drawn at coarser resolution. That is standard practice and it saves a great deal of memory. The catch is that your edits have to show up correctly in the coarse version too, and mine, frankly, did not.
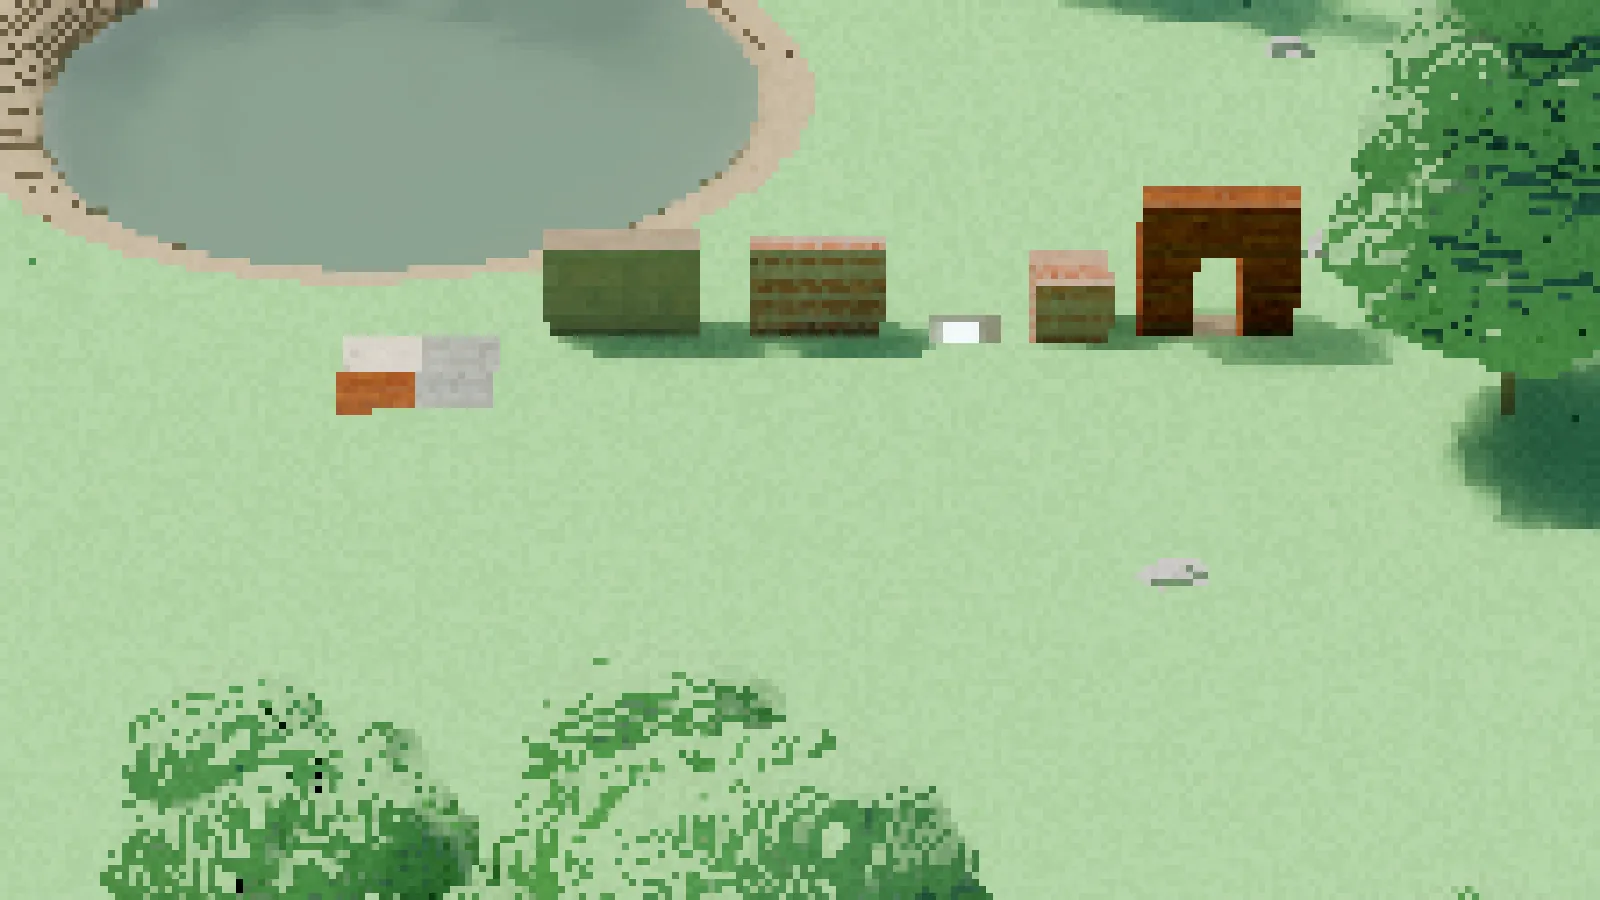
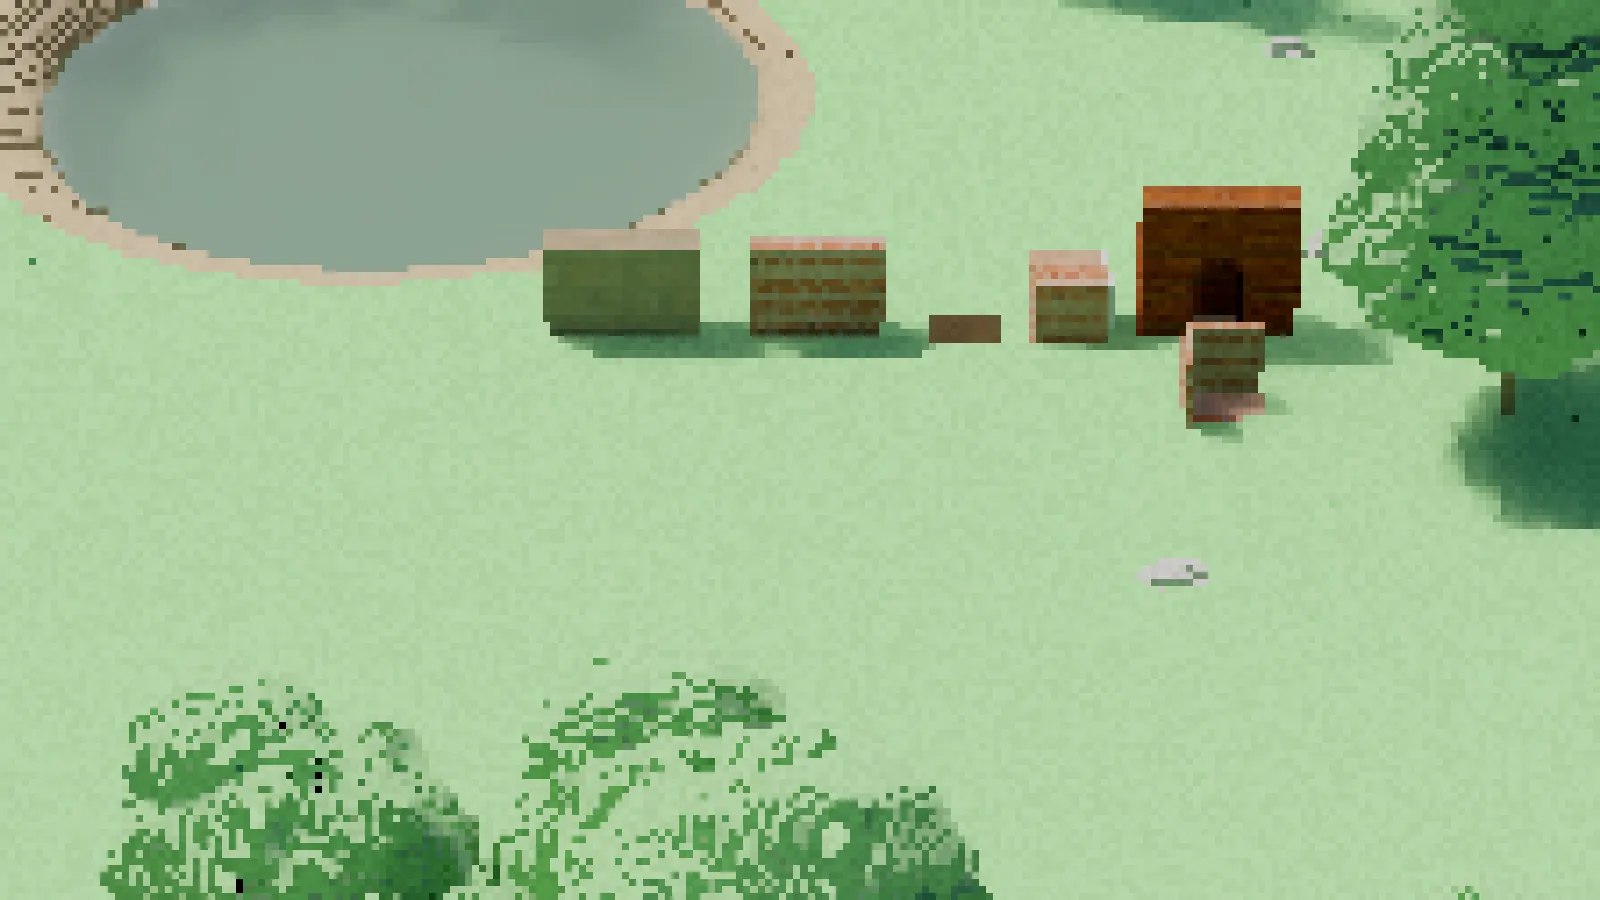
Carve a doorway through a wall and, from far enough away, it had a closed skin across it. Place a block and carve it away again, and a ghost of it stayed standing in the distance. Paint a block and it kept an unpainted edge. Set a floor flush into the grass and it vanished entirely once you walked off. Each of these had its own little fix, and each fix caused a new small problem somewhere else, which is the traditional sign that you have the wrong approach.
So I replaced the approach. Now the distance shows what you built.
This work also produced a good performance mystery. For a while, edits made inside a tree's crown would occasionally take nearly six milliseconds instead of about two. Crowns are dense, so the obvious suspect was the crown. I measured the work: identical every time. The same edit took two milliseconds on the CPU in isolation and sometimes six in the running engine. The culprit was outside the engine: other load on the machine was stretching whole frames now and then, crown or no crown. The tree was innocent. The lesson stuck: measure the work itself, not just the clock.
Warmer light
Next came a pass on the look. The sun is now drawn at four times its real size, two degrees across, which sounds like cheating and is. It makes shadows soften the further they fall from whatever casts them, the way they do in paintings and, less dramatically, in real life. Bright things now glow slightly into their surroundings, the white balance is warmer, and the haze is a quarter as thick as it was, so the far treeline keeps its colour.
Things that shine
Next, reflections. There is now a whole page of shiny materials: polished marble, polished planks, gold, copper, iron, polished stone and a mirror. They use a standard physically based model, and two small formulas do most of the work:
// Schlick's Fresnel approximation: how much light a surface reflects at an angle.
vec3 fresnel(vec3 f0, float cosTheta) {
    return f0 + (1.0 - f0) * pow(1.0 - cosTheta, 5.0);
}

// GGX (Trowbridge-Reitz) distribution: how spread out a surface's tiny facets are.
float ggx(float NdotH, float roughness) {
    float a2 = pow(roughness, 4.0);         // a common convention: alpha = roughness squared
    float d  = NdotH * NdotH * (a2 - 1.0) + 1.0;
    return a2 / (PI * d * d);
}
f0 is how much light a material reflects when you look straight at it. Water reflects about 2%, which is why a pond looks like a window from above. Gold reflects about 100% of red, 70% of green and 30% of blue, which is why it looks gold; the engine's metals use measured values like these rather than my opinion of what gold looks like. As the viewing angle flattens, Fresnel pushes every material towards a mirror, which is why the far side of the pond reflects the trees. roughness decides whether a reflection is a sharp image or a soft sheen.
One thing surprised me. Polished marble in full sun barely looks polished at all. That turns out to be physics, not a bug: whatever the floor reflects is lit by the same sun, and the floor's own brightness drowns it out. Put the floor in shade and the gloss appears.
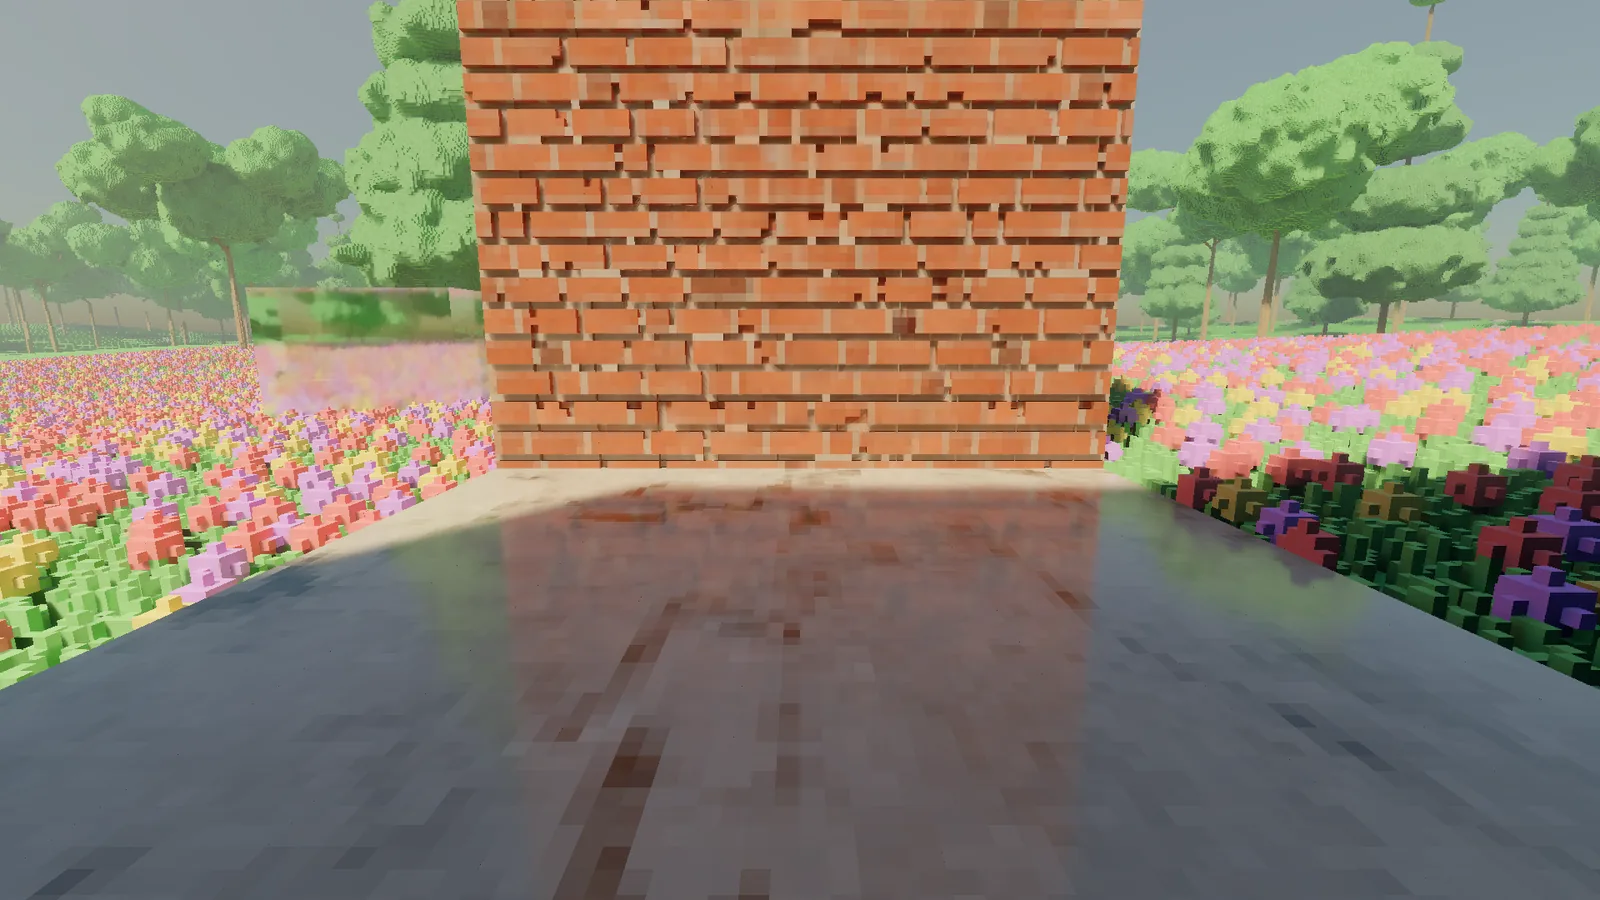
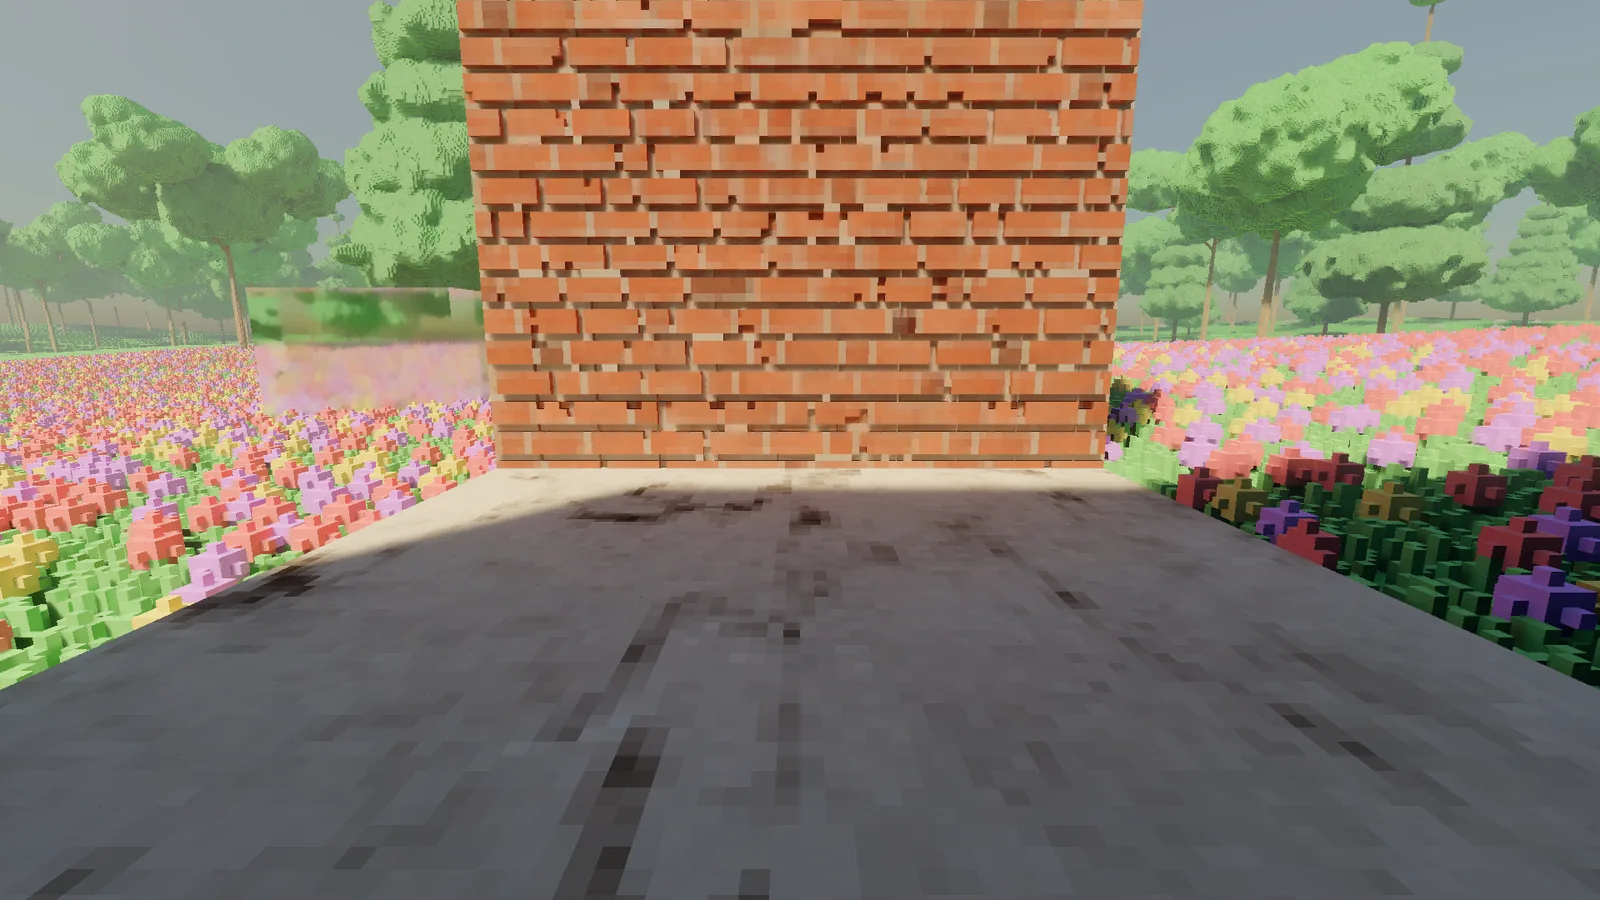
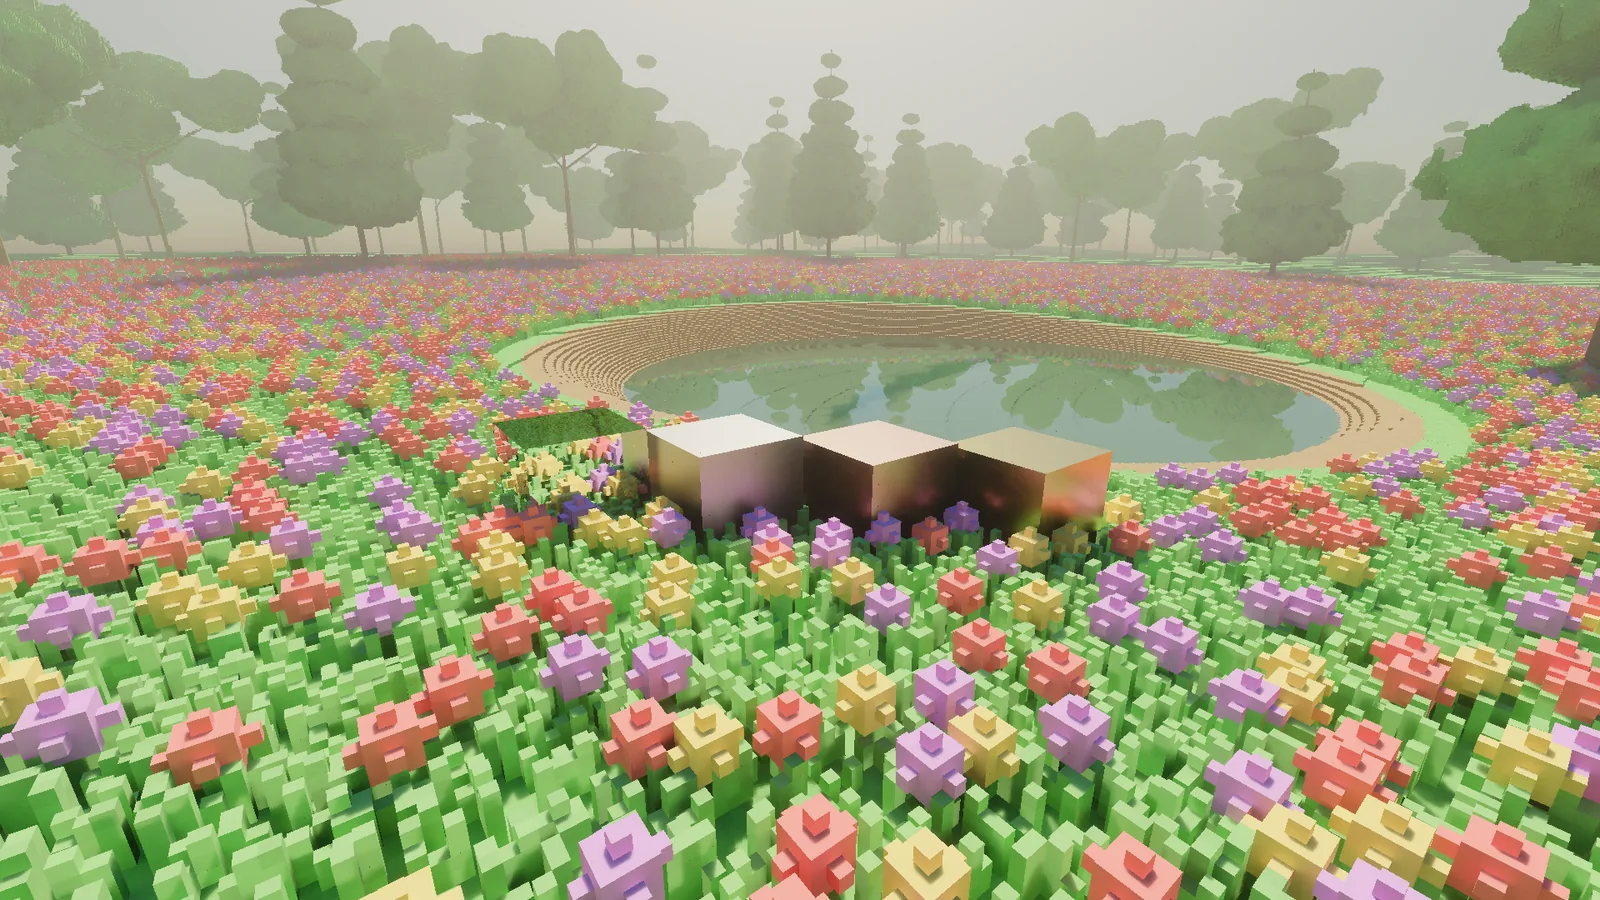
The pond got the same treatment. It now mirrors the sun as a proper bright disc, and its reflection holds still while you move, where it used to smear the trees into a green streak. The testing entry has the before and after.
This work also came in at roughly double its frame-time allowance. I wrote that down and moved on. It becomes important in a minute.
Stone, colour and a very full meadow
The meadow got a colour pass. Each broadleaf tree now picks its own autumn colour, from lime to crimson, and the flowers come in five colours spread evenly, instead of the pastel carpet from before.
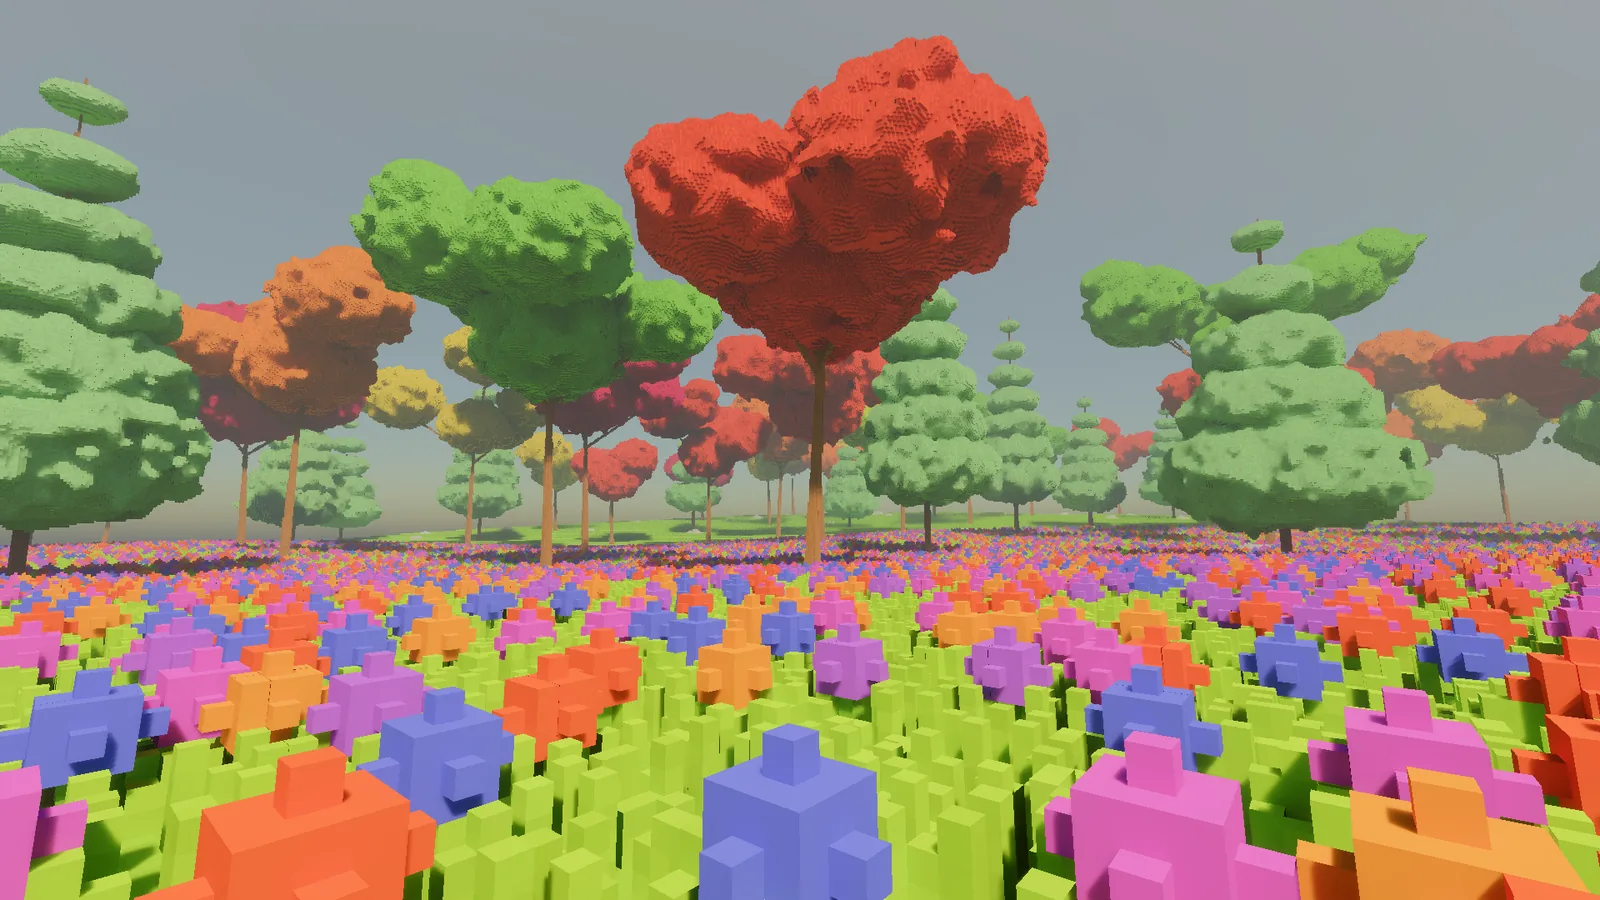
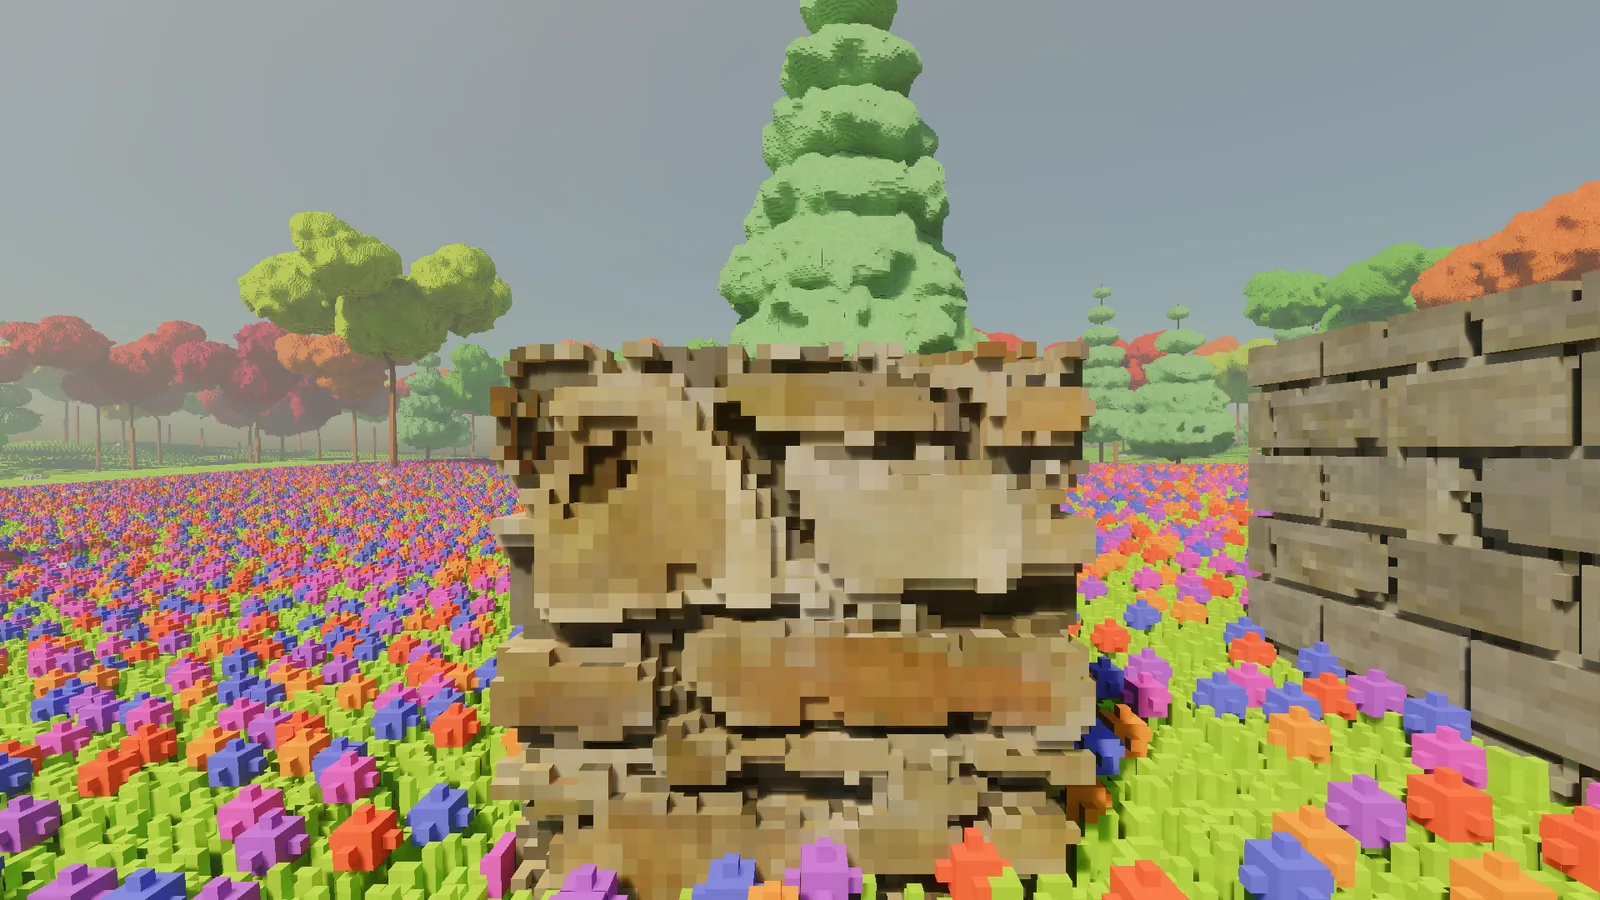
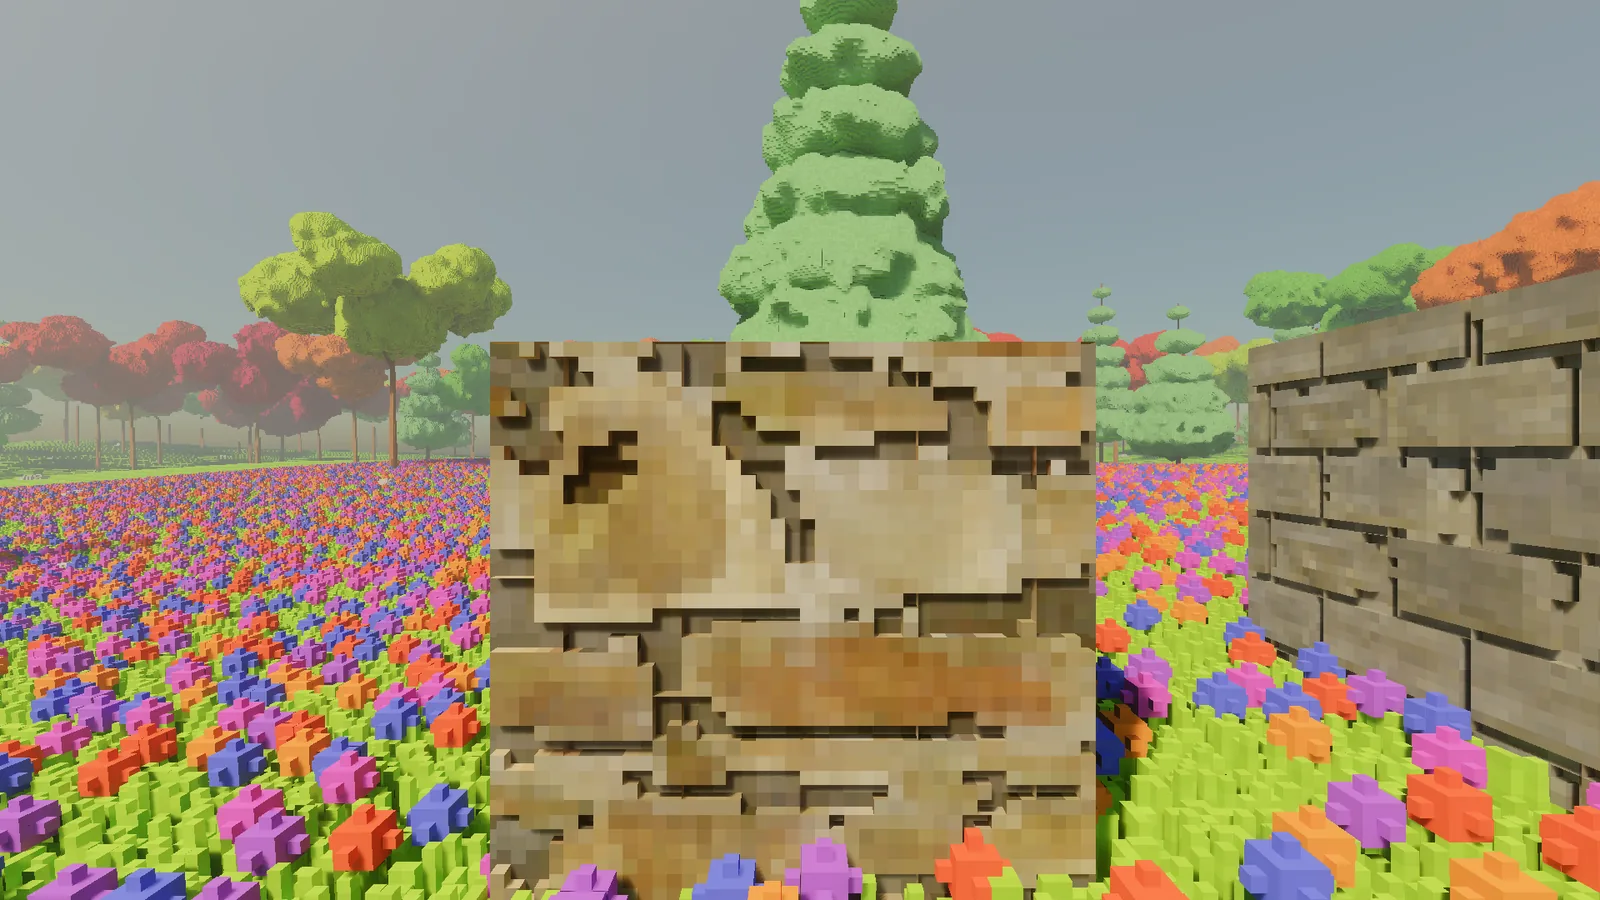
Then stone. When the textured materials first arrived, their mortar joints were faked at draw time, one voxel deep. Now the joints are carved into the voxels themselves, up to three deep. There are new stones too: rough fieldstone, small blocks and white blocks. Fieldstone has proud stones and deep, dark gaps between them, and the white blocks step down twice to each joint. The white blocks came out a tasteful sandstone the first time, which would have been fine if I had asked for sandstone. Because the joints are real, everything else just works with them: shadows fall into them, light bounces around inside them, and a block placed into a joint sits flush with the face. It also turned out cheaper to draw than the fake version, which almost never happens.
The first version of this had a talent for punching straight through thin walls, leaving a wall full of tiny windows. There is now a guard that stops that, and a set of deliberately nasty test walls that make sure it keeps stopping it.
Nearly halving the frame
By this point the engine had spent a lot of frame time on light, materials and reflections, and the centre view of my test world cost about 17.8 milliseconds a frame. The target is 16.6, a steady 60 frames per second, and several views were well over it. The worst, looking at the sun in the pond, took nearly 34.
So I stopped adding things and measured instead. I built tools that break a frame down stage by stage and draw a heat map of where the time goes.
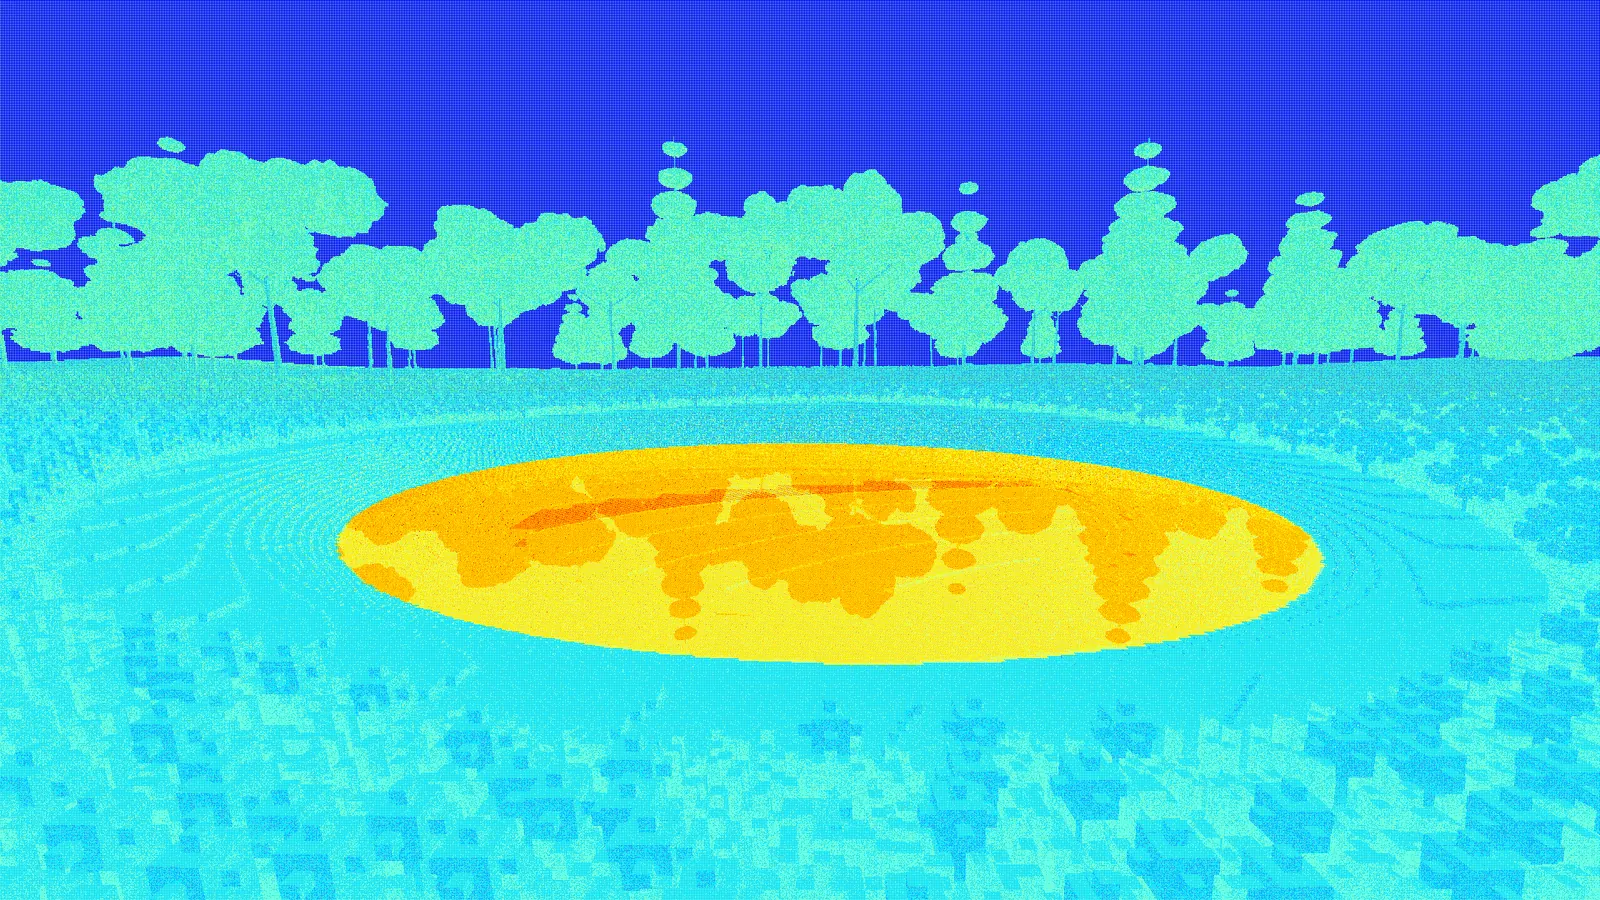
Two changes did most of the work. First, the ray tracing hardware was being handed boxes much larger than the voxels actually inside them, so rays kept stopping to check empty space. Tightening those boxes paid off on every view. Second, the light bouncing around underneath the pond's surface was being fully path traced, at great expense, for a result you can barely see through the water. That is now estimated instead of traced. I checked the estimate against the traced version: the pond floor's brightness agrees to within a tenth of a percent.
The results, from paired runs of the before and after builds:
| View | Before | After |
|---|---|---|
| Centre of the glade | 17.8 ms | 9.8 ms |
| Forest edge | 19.6 ms | 12.1 ms |
| Walking at golden hour | 20.3 ms | 12.0 ms |
| Looking at the sun in the pond | 34.0 ms | 12.4 ms |
| Dusk with a lamp | 32.7 ms | 12.7 ms |
| Through a glass wall | 25.9 ms | 16.5 ms |
Every standard view is now under budget. The view through a glass wall has the least headroom, about a tenth of a millisecond. The second light bounce is still switched off: turning it on pushes five views back over.
Real models as voxels
Up to now everything in the world was generated or built by hand. Now ordinary 3D models can come in too. The importer takes a textured model and bakes it into coloured 5 cm voxels. The models keep their colours, the metal ones shine like metal, and anything that is meant to glow does glow and light what is around it. Once placed, a prop is just more voxels: you can turn it, carve it, paint it and undo it like any other edit. It even shows up at a distance, which the first version did not manage. Imported props simply vanished beyond fifty metres, like shy guests.
The first set is nine free models: a painted bench, two lanterns, a street lamp, a stone fire pit, a statue, a marble bust, a brass urn and a ceramic pot.
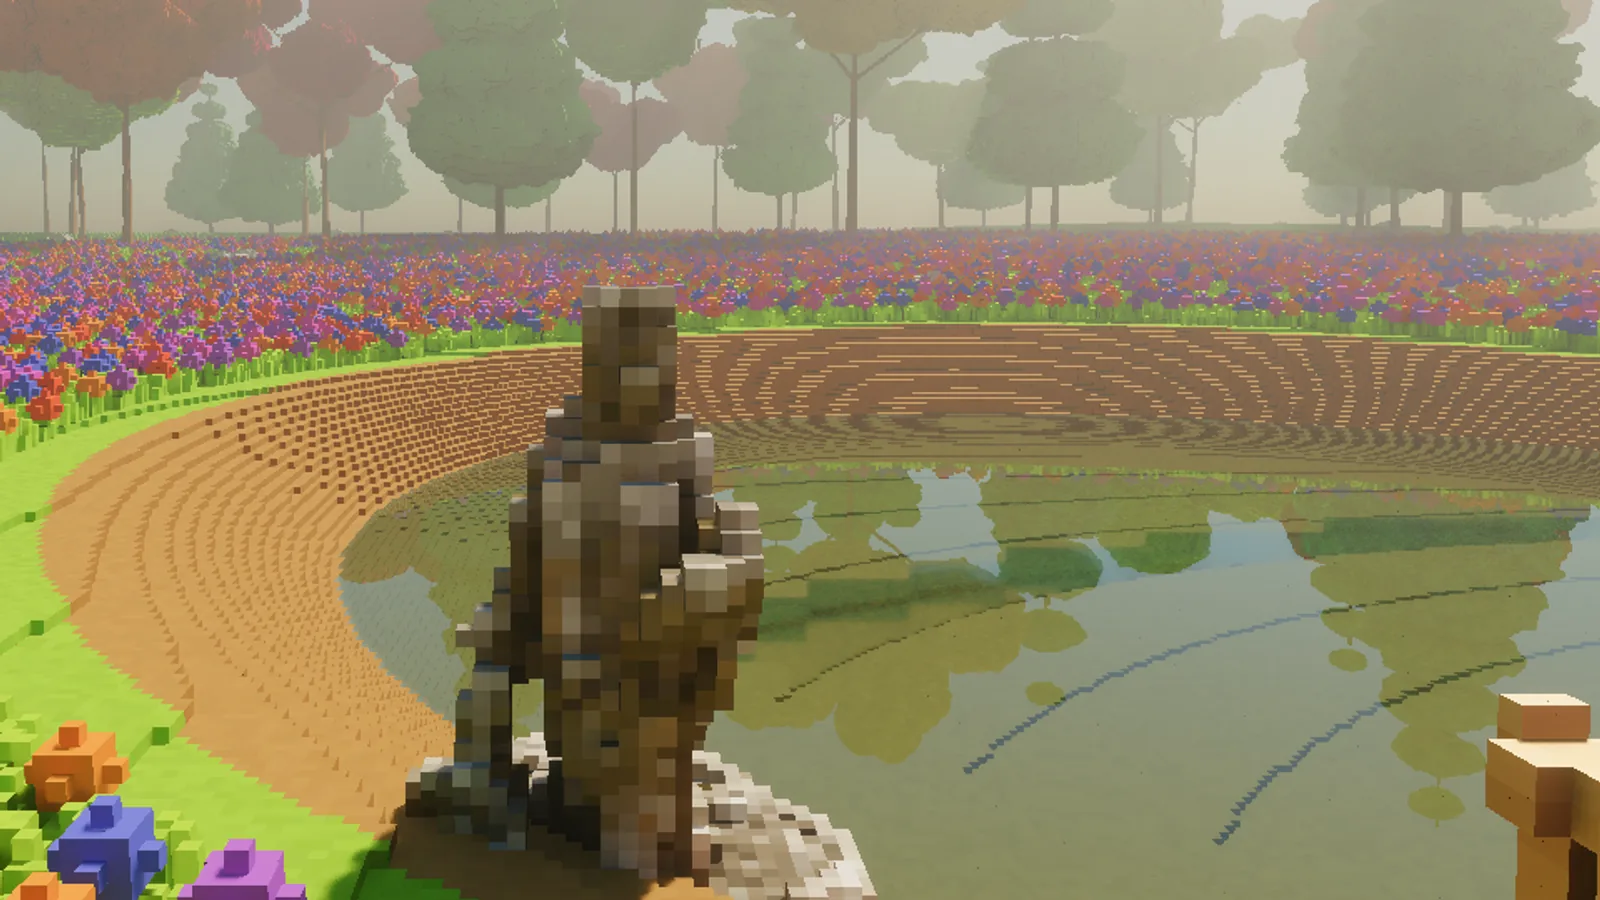
There was also a tenth model, a lion's head. At 5 cm it came out as a lumpy grey tile, with no discernible lion in it. It was retired with honours.
Turning a model into voxels has two halves: finding its surface, and deciding what is inside. The surface is the easy half. For the inside, a classic trick is an exterior flood fill: mark every voxel the surface passes through, pour "outside" in from a corner of the bounding box, and whatever the flood never reaches must be inside.
// Solid voxelisation by exterior flood fill.
// 1. Mark every voxel the model's surface passes through.
foreach (var tri in mesh.Triangles)
    foreach (var v in VoxelsTouchedBy(tri))
        grid[v] = Cell.Surface;

// 2. Flood "outside" in from a corner of the box, which is padded so it starts empty.
var queue = new Queue<Int3>();
queue.Enqueue(Int3.Zero);
grid[Int3.Zero] = Cell.Outside;
while (queue.Count > 0)
{
    var c = queue.Dequeue();
    foreach (var n in Neighbours6(c))
        if (InBounds(n) && grid[n] == Cell.Empty)
        {
            grid[n] = Cell.Outside;
            queue.Enqueue(n);
        }
}

// 3. Whatever the flood never reached is inside the model: fill it.
foreach (var c in grid.Cells)
    if (grid[c] == Cell.Empty) grid[c] = Cell.Solid;
It has one weakness, and real models find it immediately. If the surface has a gap anywhere, the flood pours through it and fills the inside with "outside", so the model comes out hollow. Many 3D scans are open at the bottom, where the model stood on the ground. The fix for those was to treat the ground under a model as a lid before flooding, which made the statue and the street lamp solid. A few models, like the lanterns, have gaps in other places too, so carve into one and you find a hollow shell. For models that are properly closed the importer uses a different inside test entirely, based on the winding number, which does not care about gaps in the first place.
There is one more step. Every prop in a scene shares a single palette of at most 112 colours, because every voxel is a single byte indexing one material table, and the terrain and the building materials need their share of it too. Choosing those colours well is a clustering problem, and the standard tool is k-means. The only twist is where you measure distance: in Oklab, a colour space designed so that equal distances look like equal differences to the eye.
// k-means colour quantisation in Oklab.
var points  = voxelColours.Select(Oklab.FromLinearRgb).ToArray();
var centres = ChooseStartingCentres(points, k, rng);   // e.g. k-means++

for (int iter = 0; iter < 20; iter++)
{
    // Give every colour to its nearest centre...
    var groups = points.GroupBy(p => NearestIndex(centres, p));
    // ...then move each centre to the average of the colours it was given.
    centres = groups.Select(g => Average(g)).ToArray();
}

// Each voxel stores the index of its nearest centre: one byte.
In RGB, "nearest" can pick a colour that is numerically close but visibly wrong. In Oklab, nearest means looks nearest. Across all nine props the average error is about one unit of perceptual difference or less, which is about the smallest change the eye can pick out side by side.
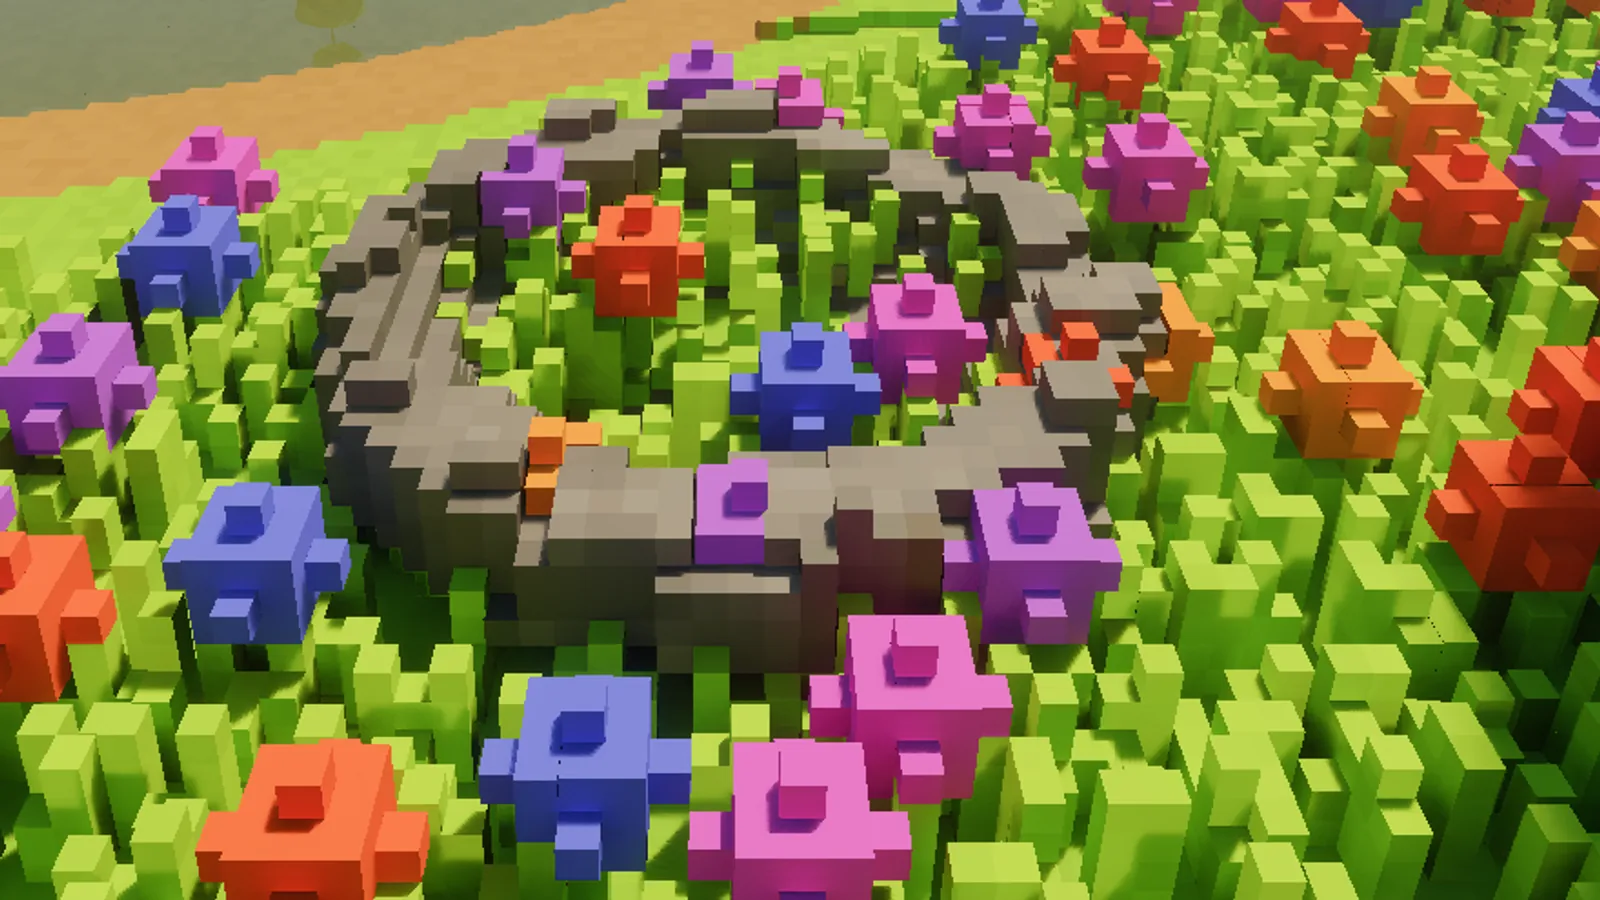
Building the Court
All of this needed a proper test, so I built something. First an architecture kit: walls with arched openings, columns, balustrades, stairs, an arched bridge, terraces, a portico and fire bowls, each one generated from a few parameters. The bridge alone is about half a million voxels.
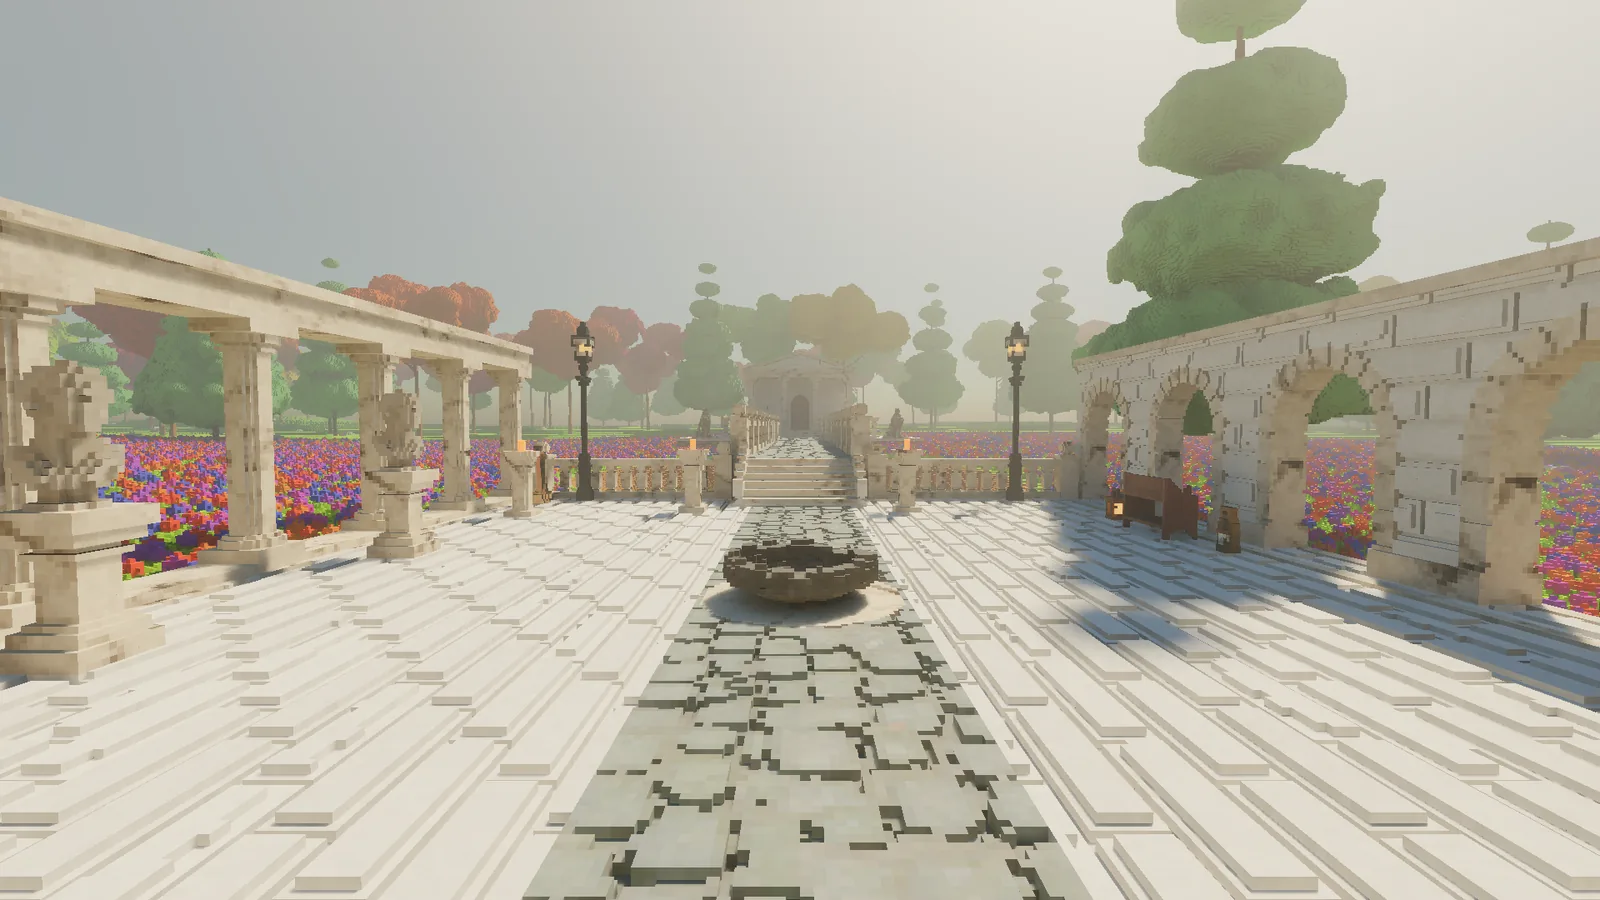
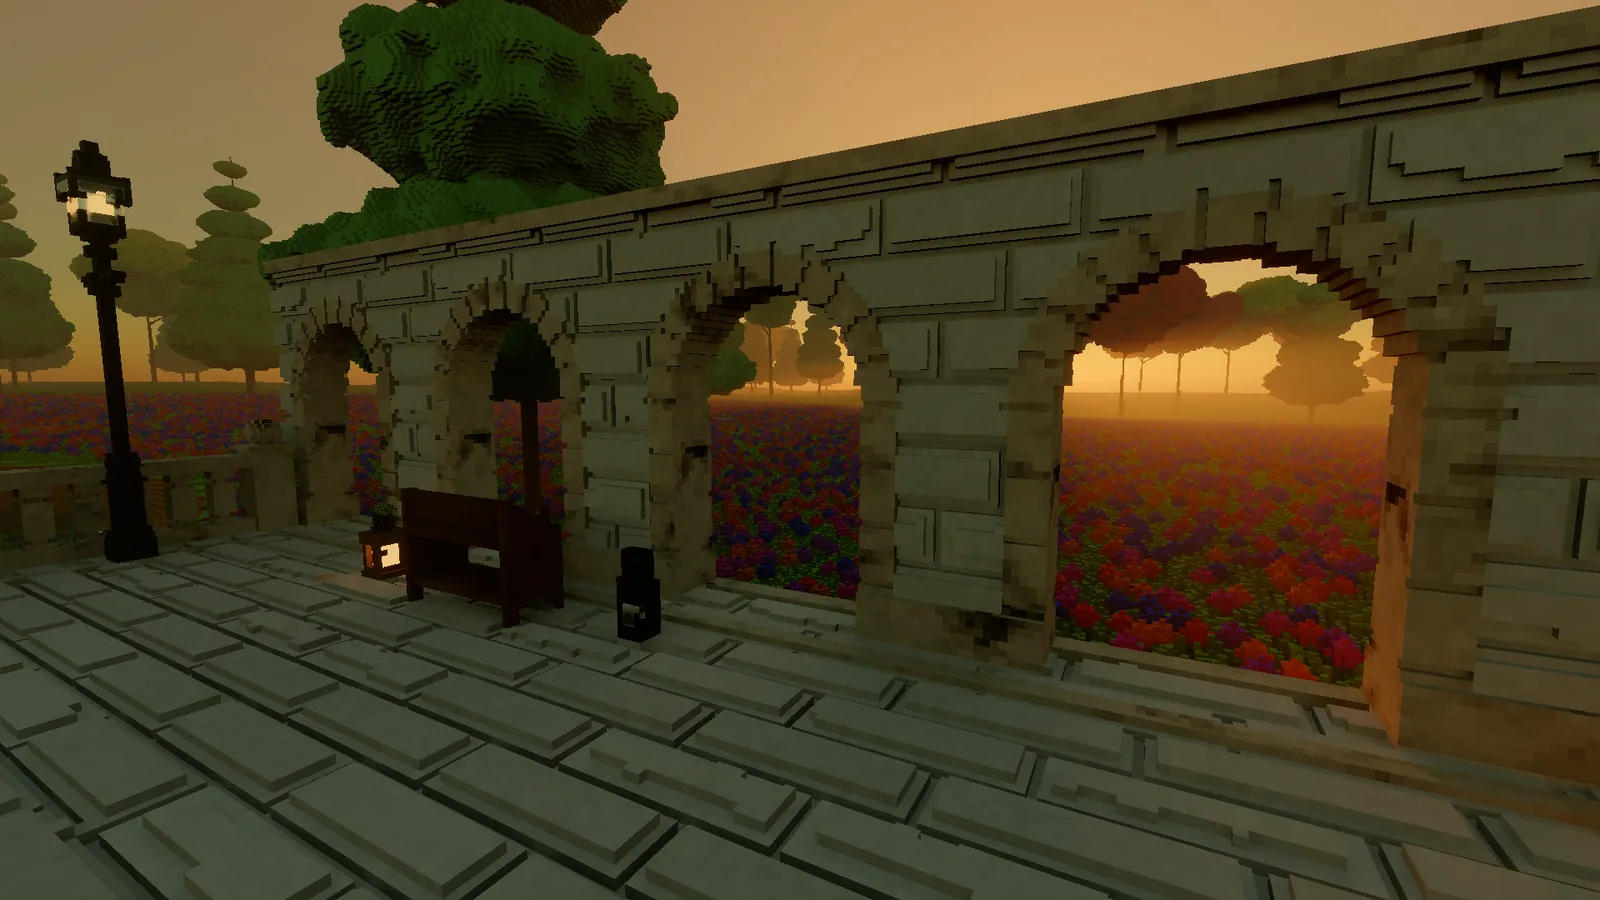
Then I used the kit and the props to build a small showcase on the glade: a paved courtyard with a cobbled path down the middle, a fieldstone gate wall with a round arch, an arcade and a marble colonnade, a bridge over the pond leading to a temple terrace with a portico, and eight fire bowls, statues, benches, lanterns and street lamps to dress it. I call it the Court.
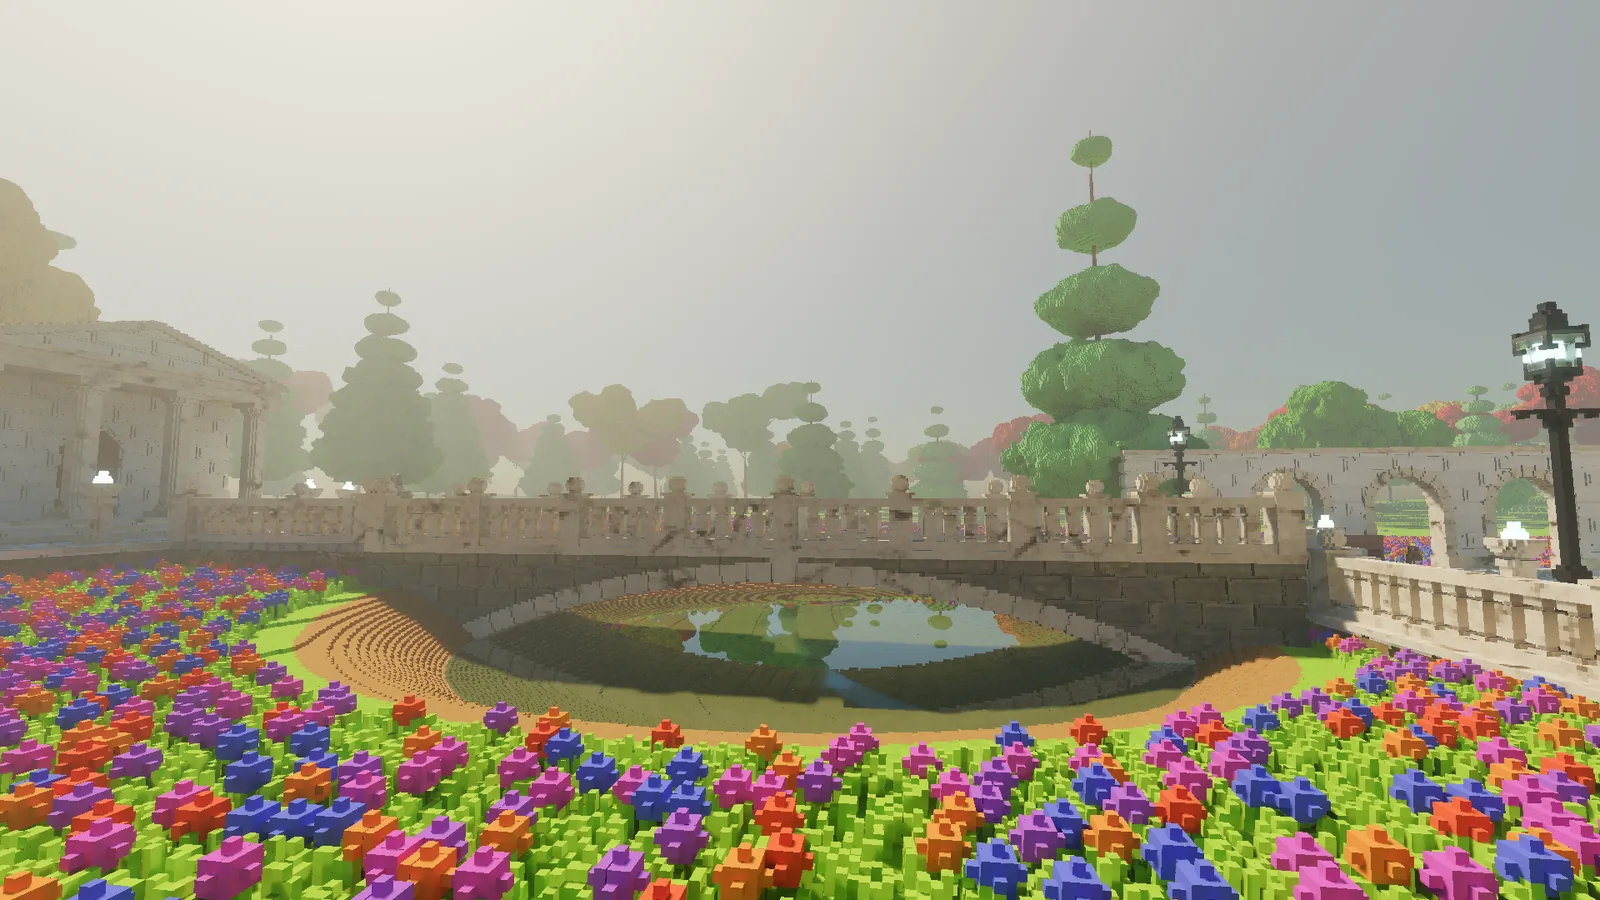
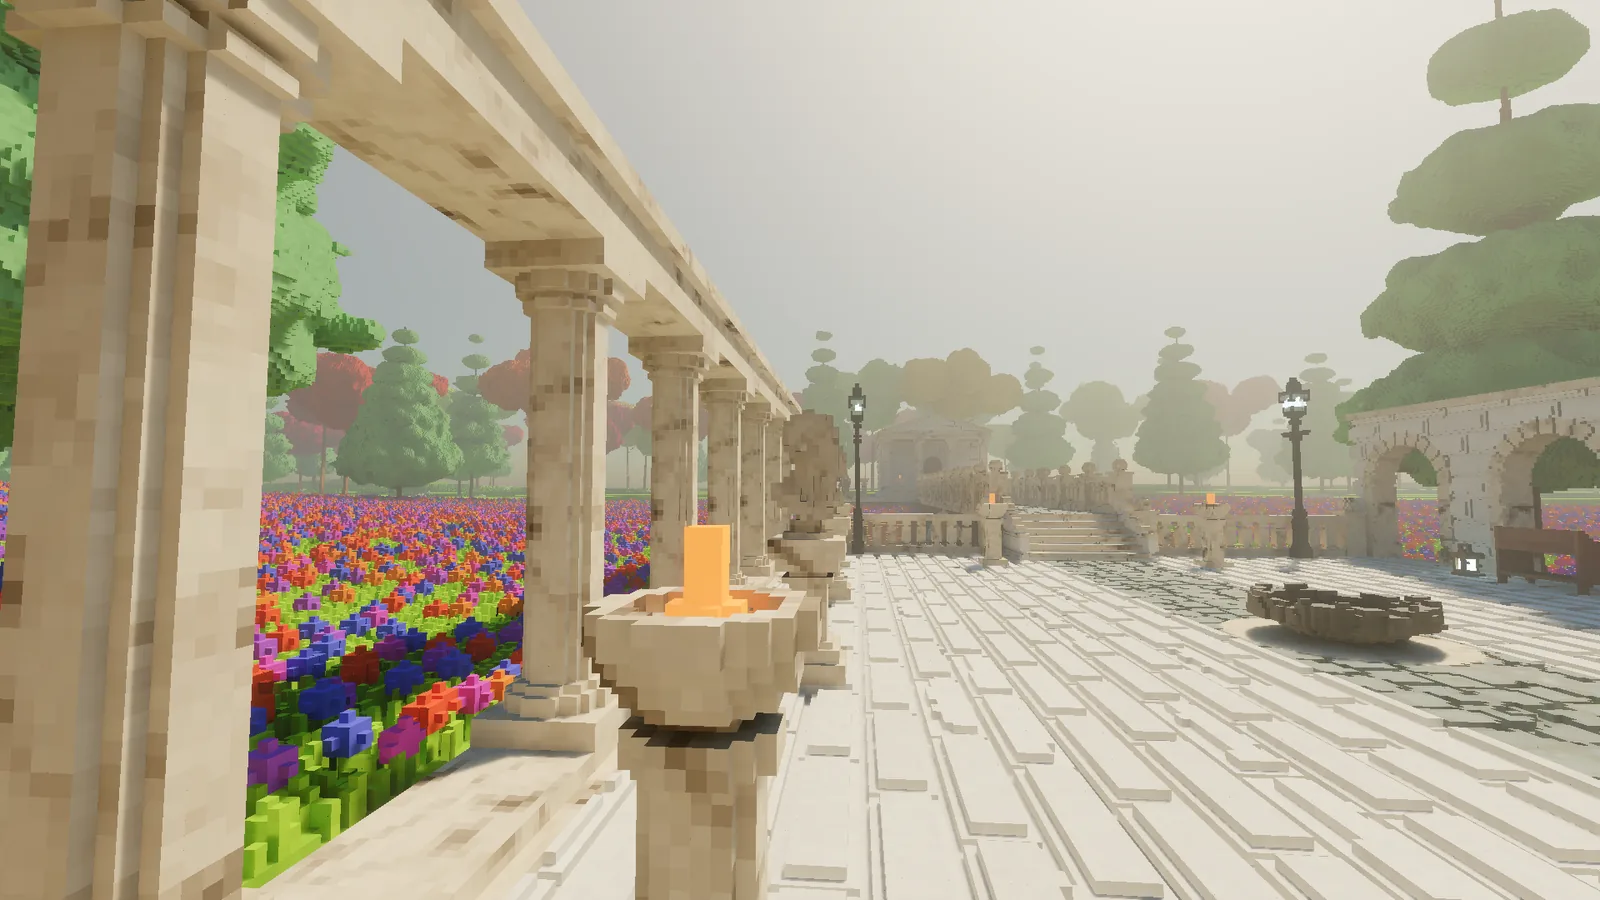
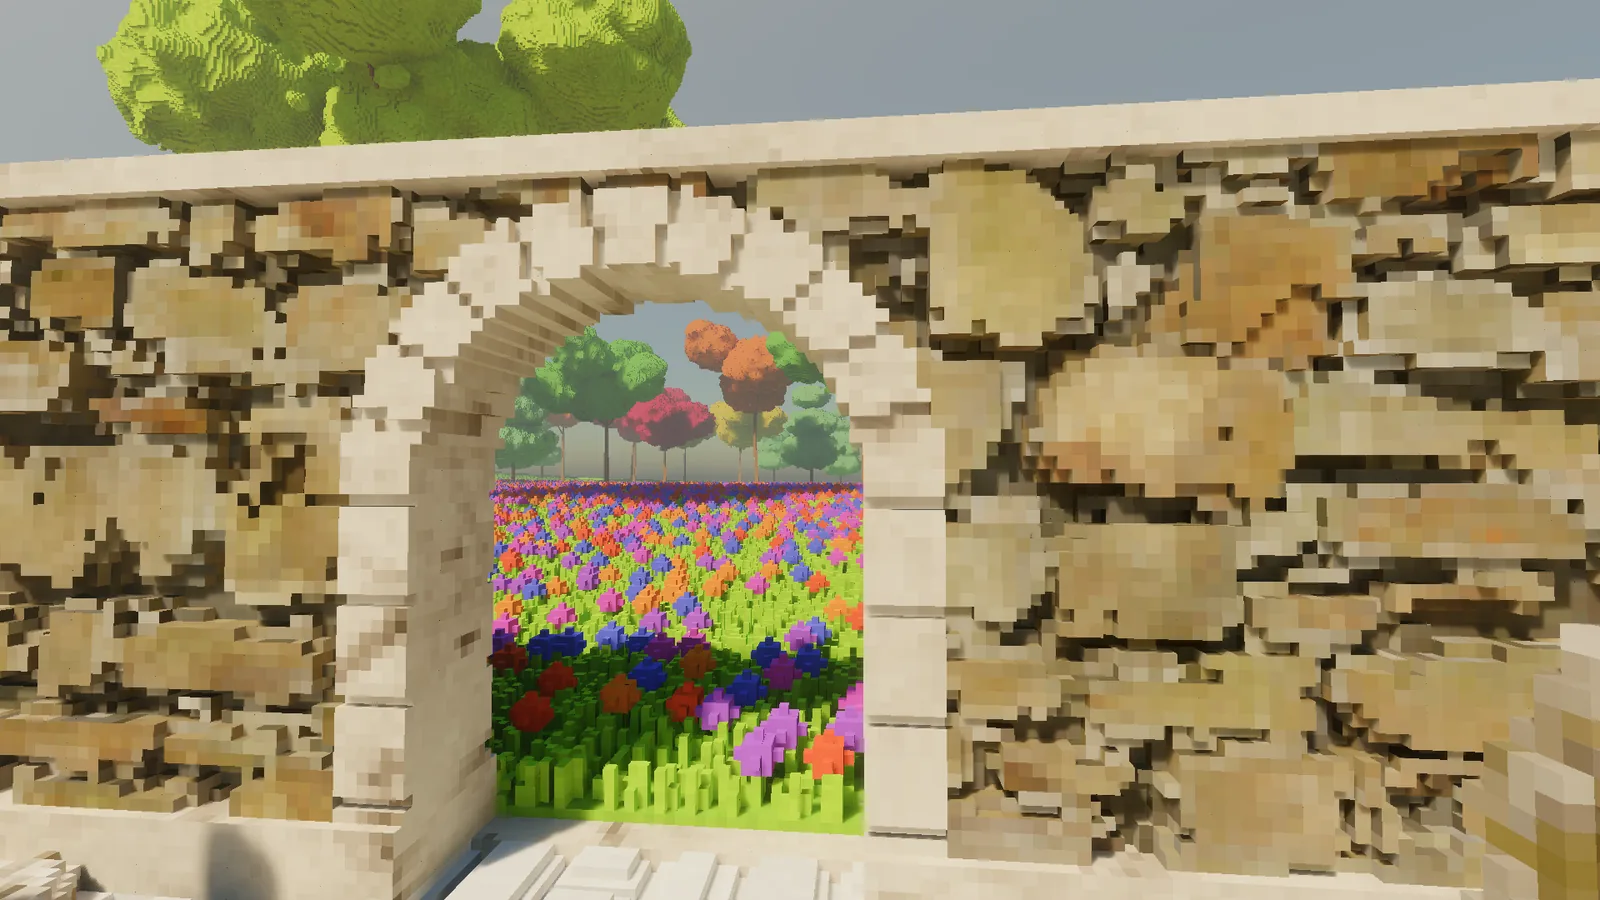
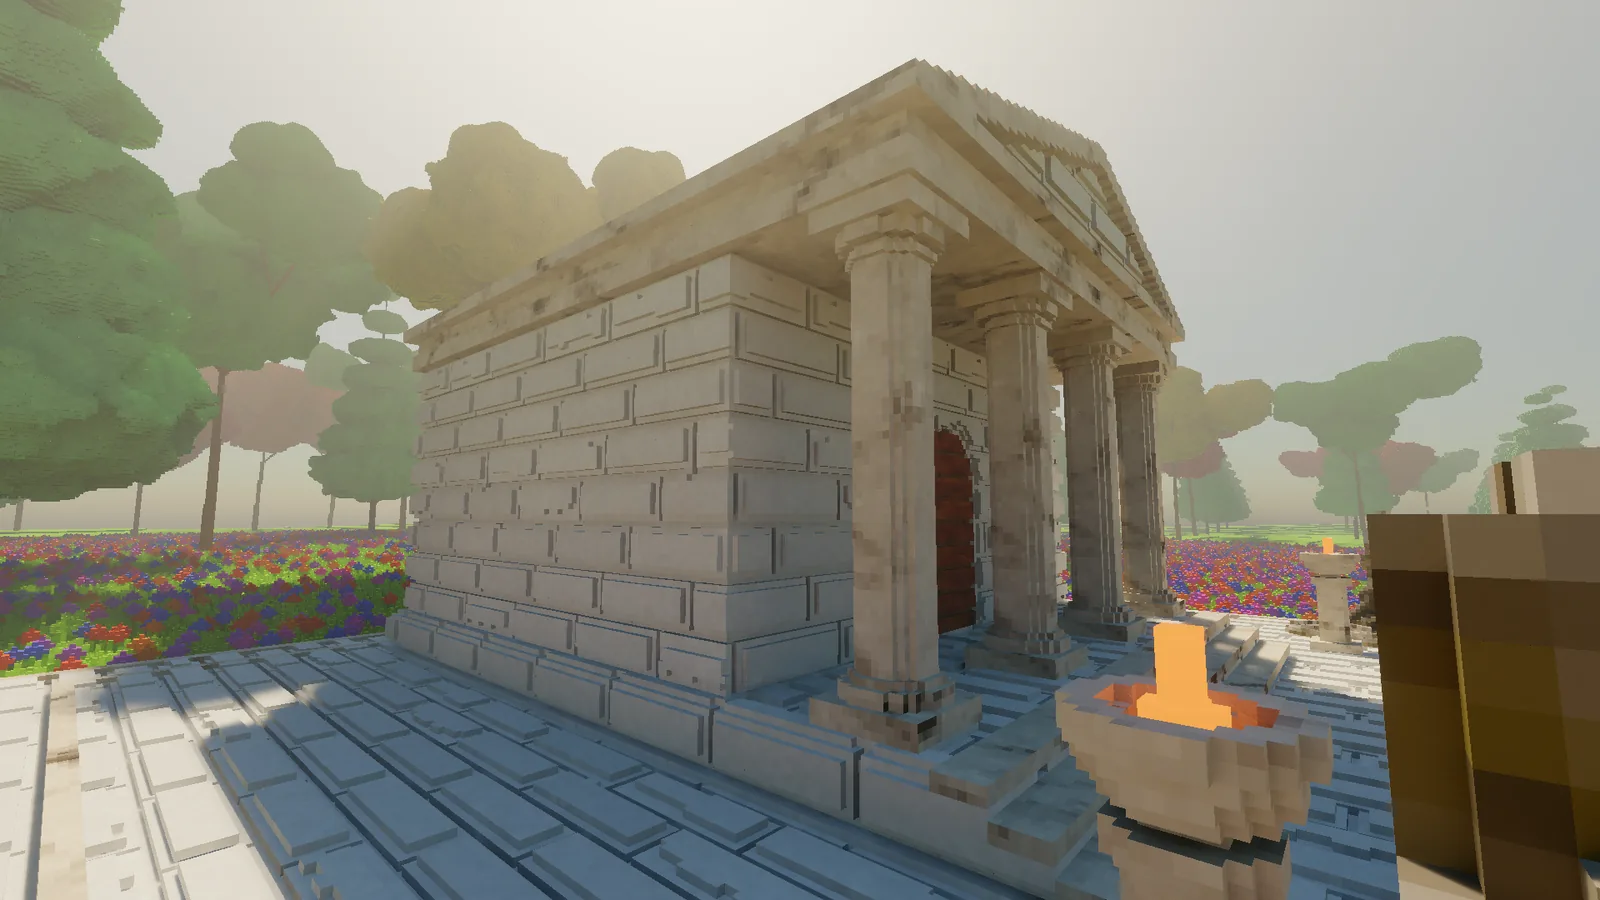
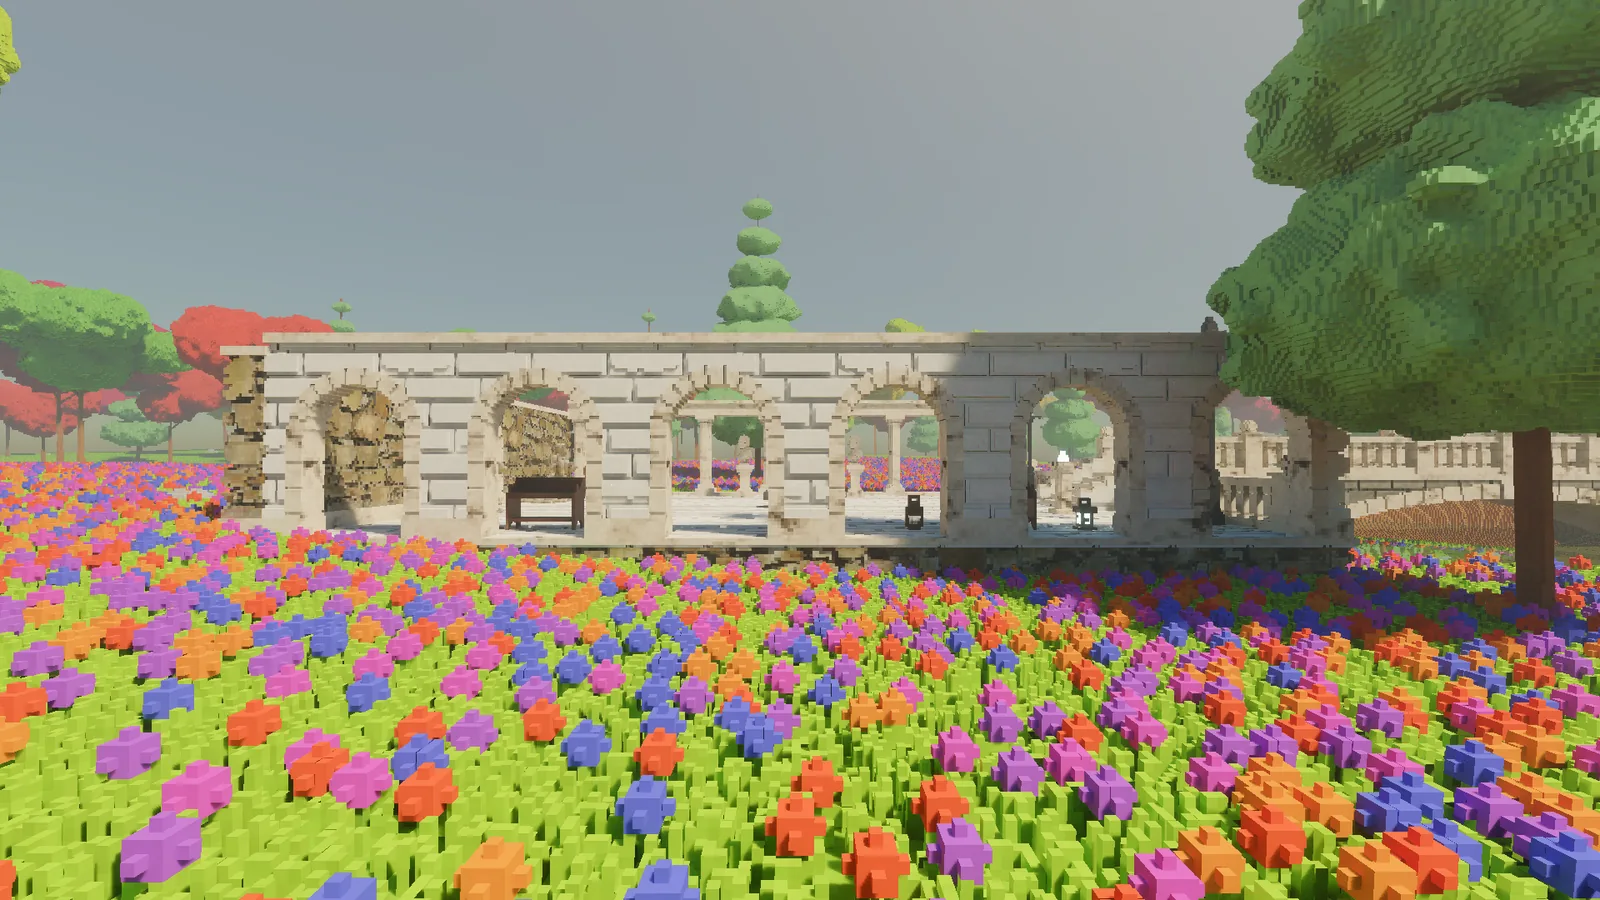
The data story holds up nicely. The Court adds about 5.6 million voxels of architecture and props, and roughly 10 MB of GPU memory. Several views are actually cheaper than the same view of the plain meadow, because paving is far simpler to draw than a field of grass and flowers. Looking down the courtyard costs 7.4 milliseconds, against 8.7 for the meadow it replaced.
The fire bowls
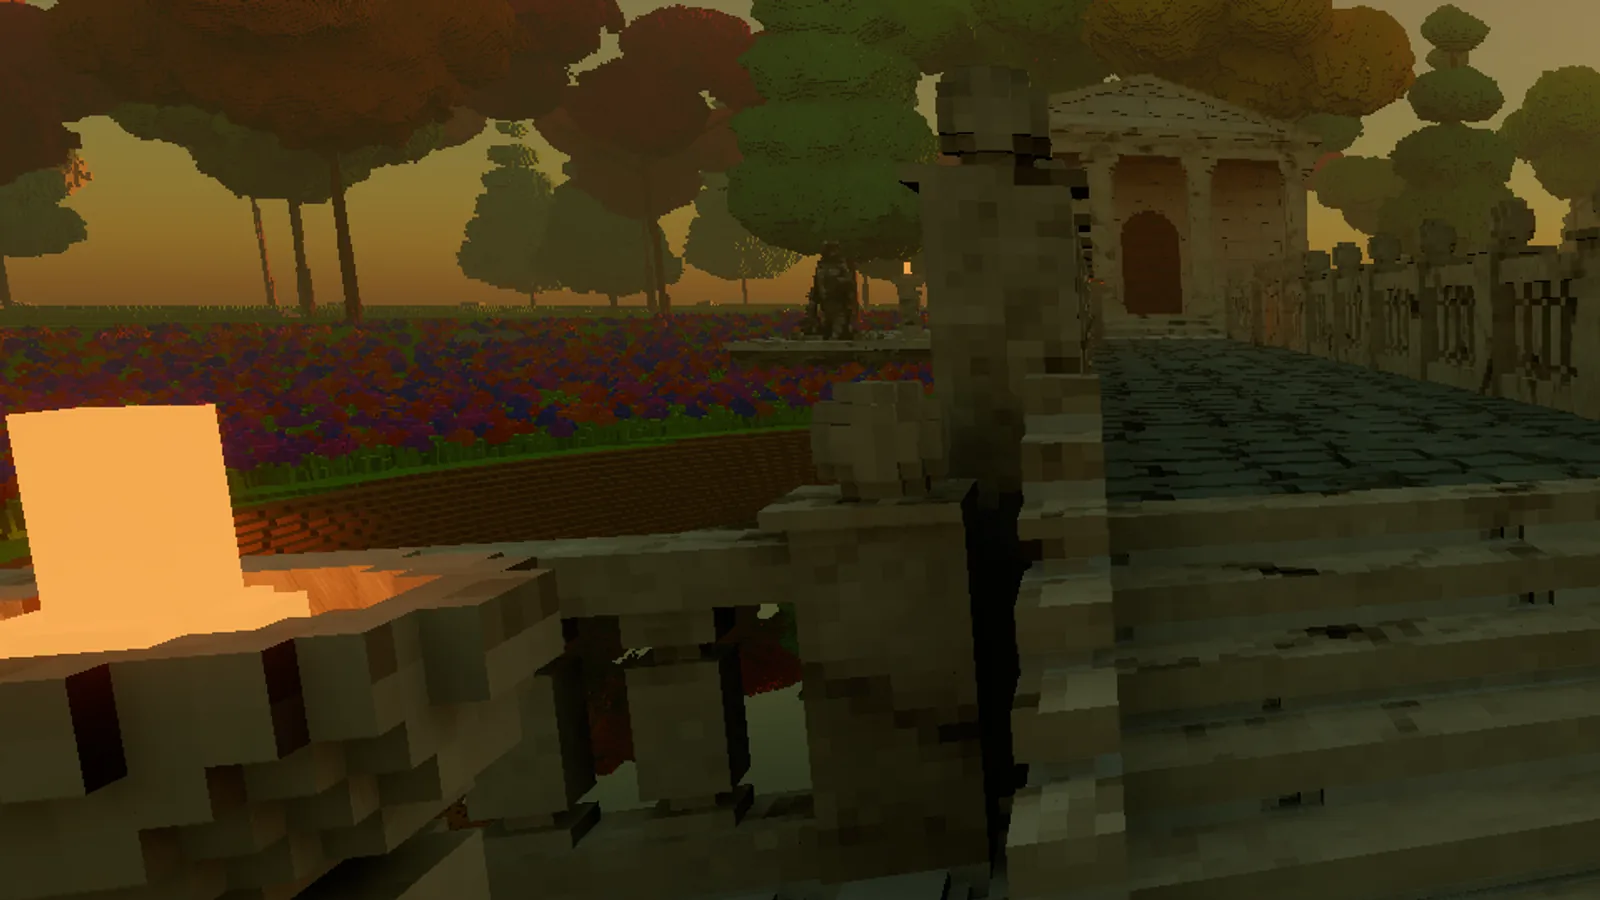
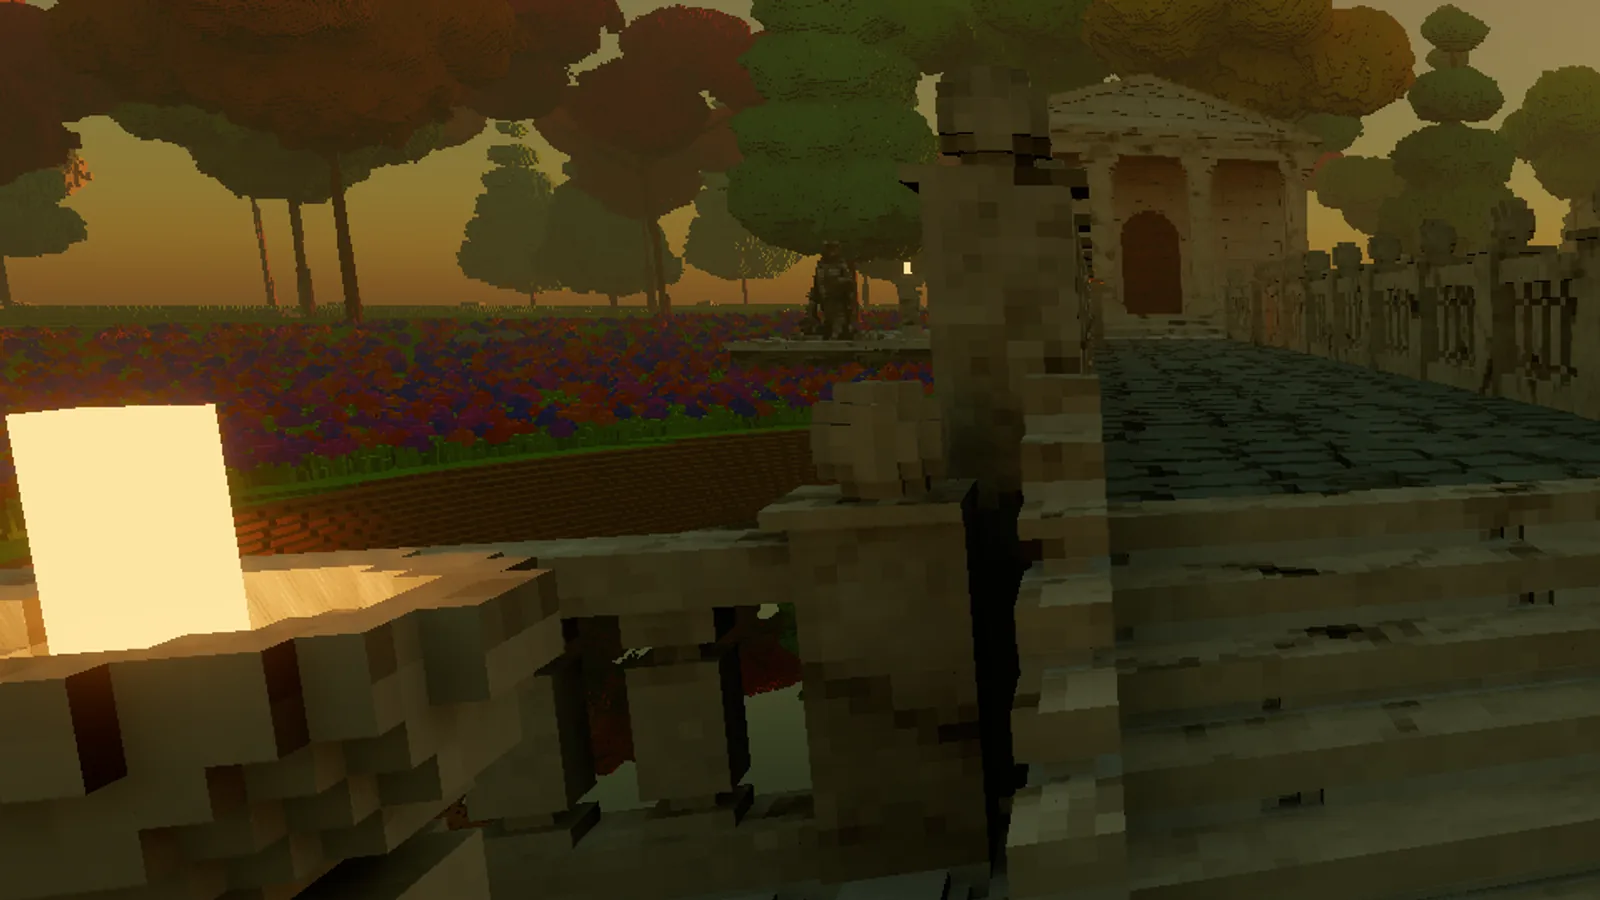
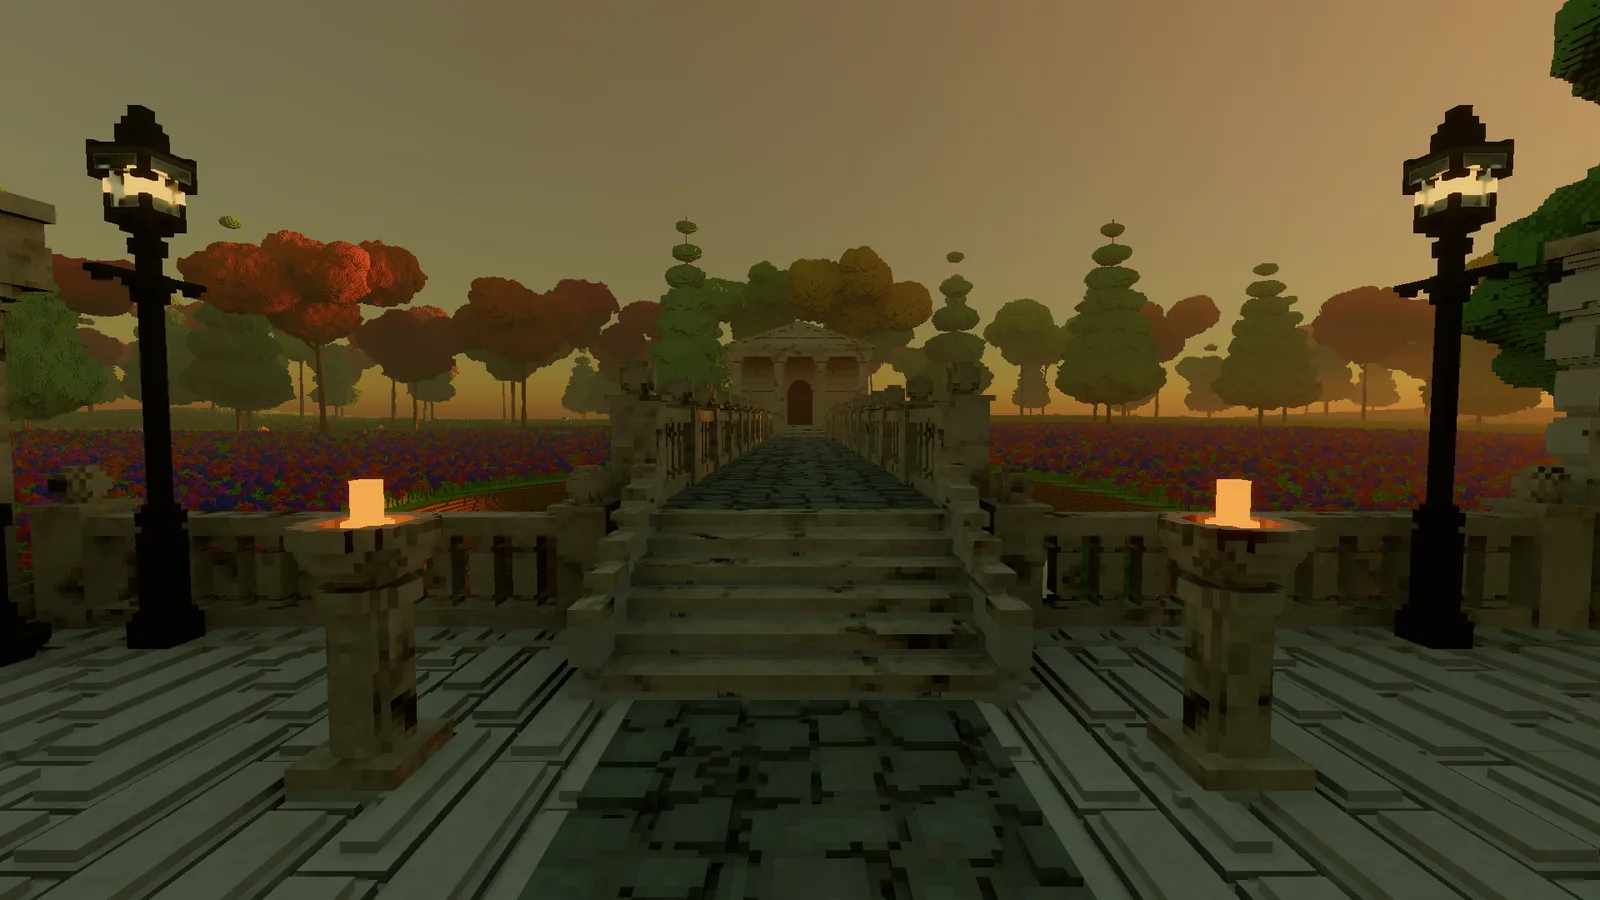
At dusk the fire bowls carry the scene's warm light. In the first build, their flames came out as tall, overexposed white shapes, less "fire" and more "office lighting". Each bowl also counted as dozens of separate lights, which the renderer did not thank me for. The flames are now smaller, genuinely orange, and far fewer lights. The street lamps came out a clinical white too, and they now glow a warm lamplight yellow.
A couple of things I tried
I also rebuilt the whole Court at 4 cm voxels instead of 5, to see whether it was worth it. The balusters and the busts do look crisper. It also costs about 60% more GPU memory, takes about three quarters longer to generate and blows through the budget for how many separate pieces of the world the renderer can track. I am staying at 5 cm. Data wins again.
What comes next
Every view of the Court runs under the frame budget. Next comes motion: water, weather, fire and creatures. I will write about each of them when it exists.